Plastic mesh as strong as metal, for residential and permanent fencing

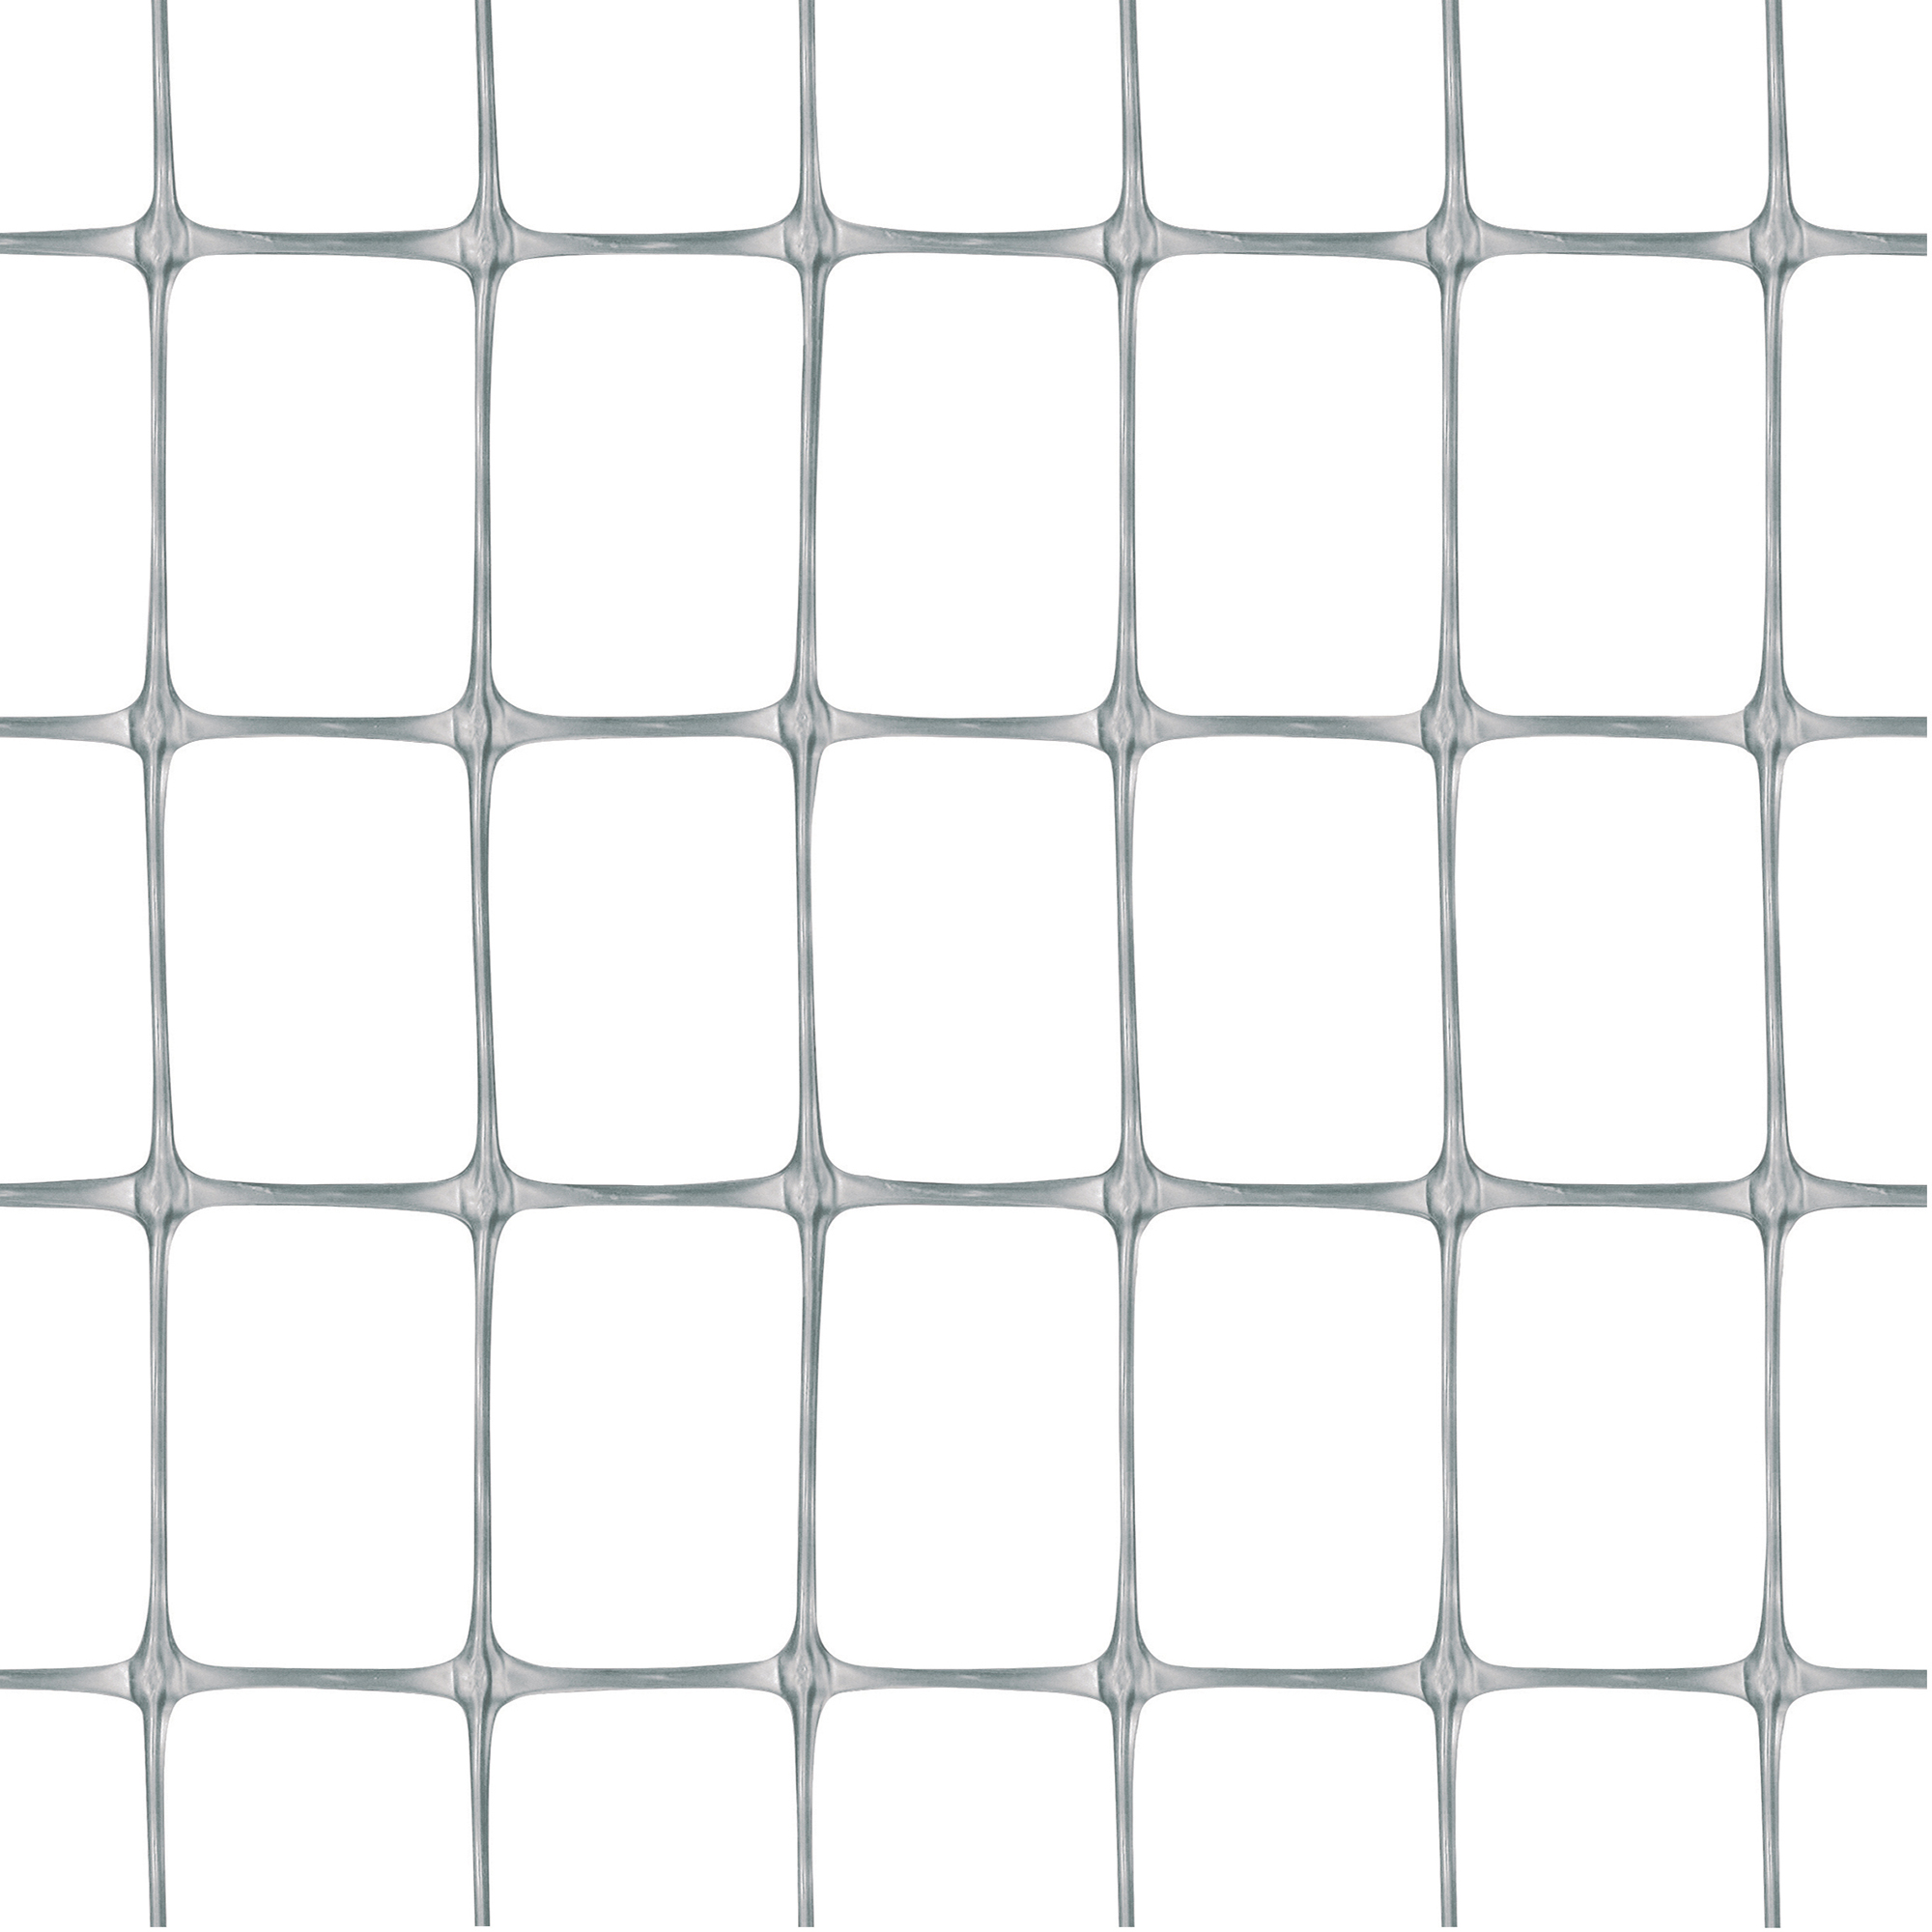
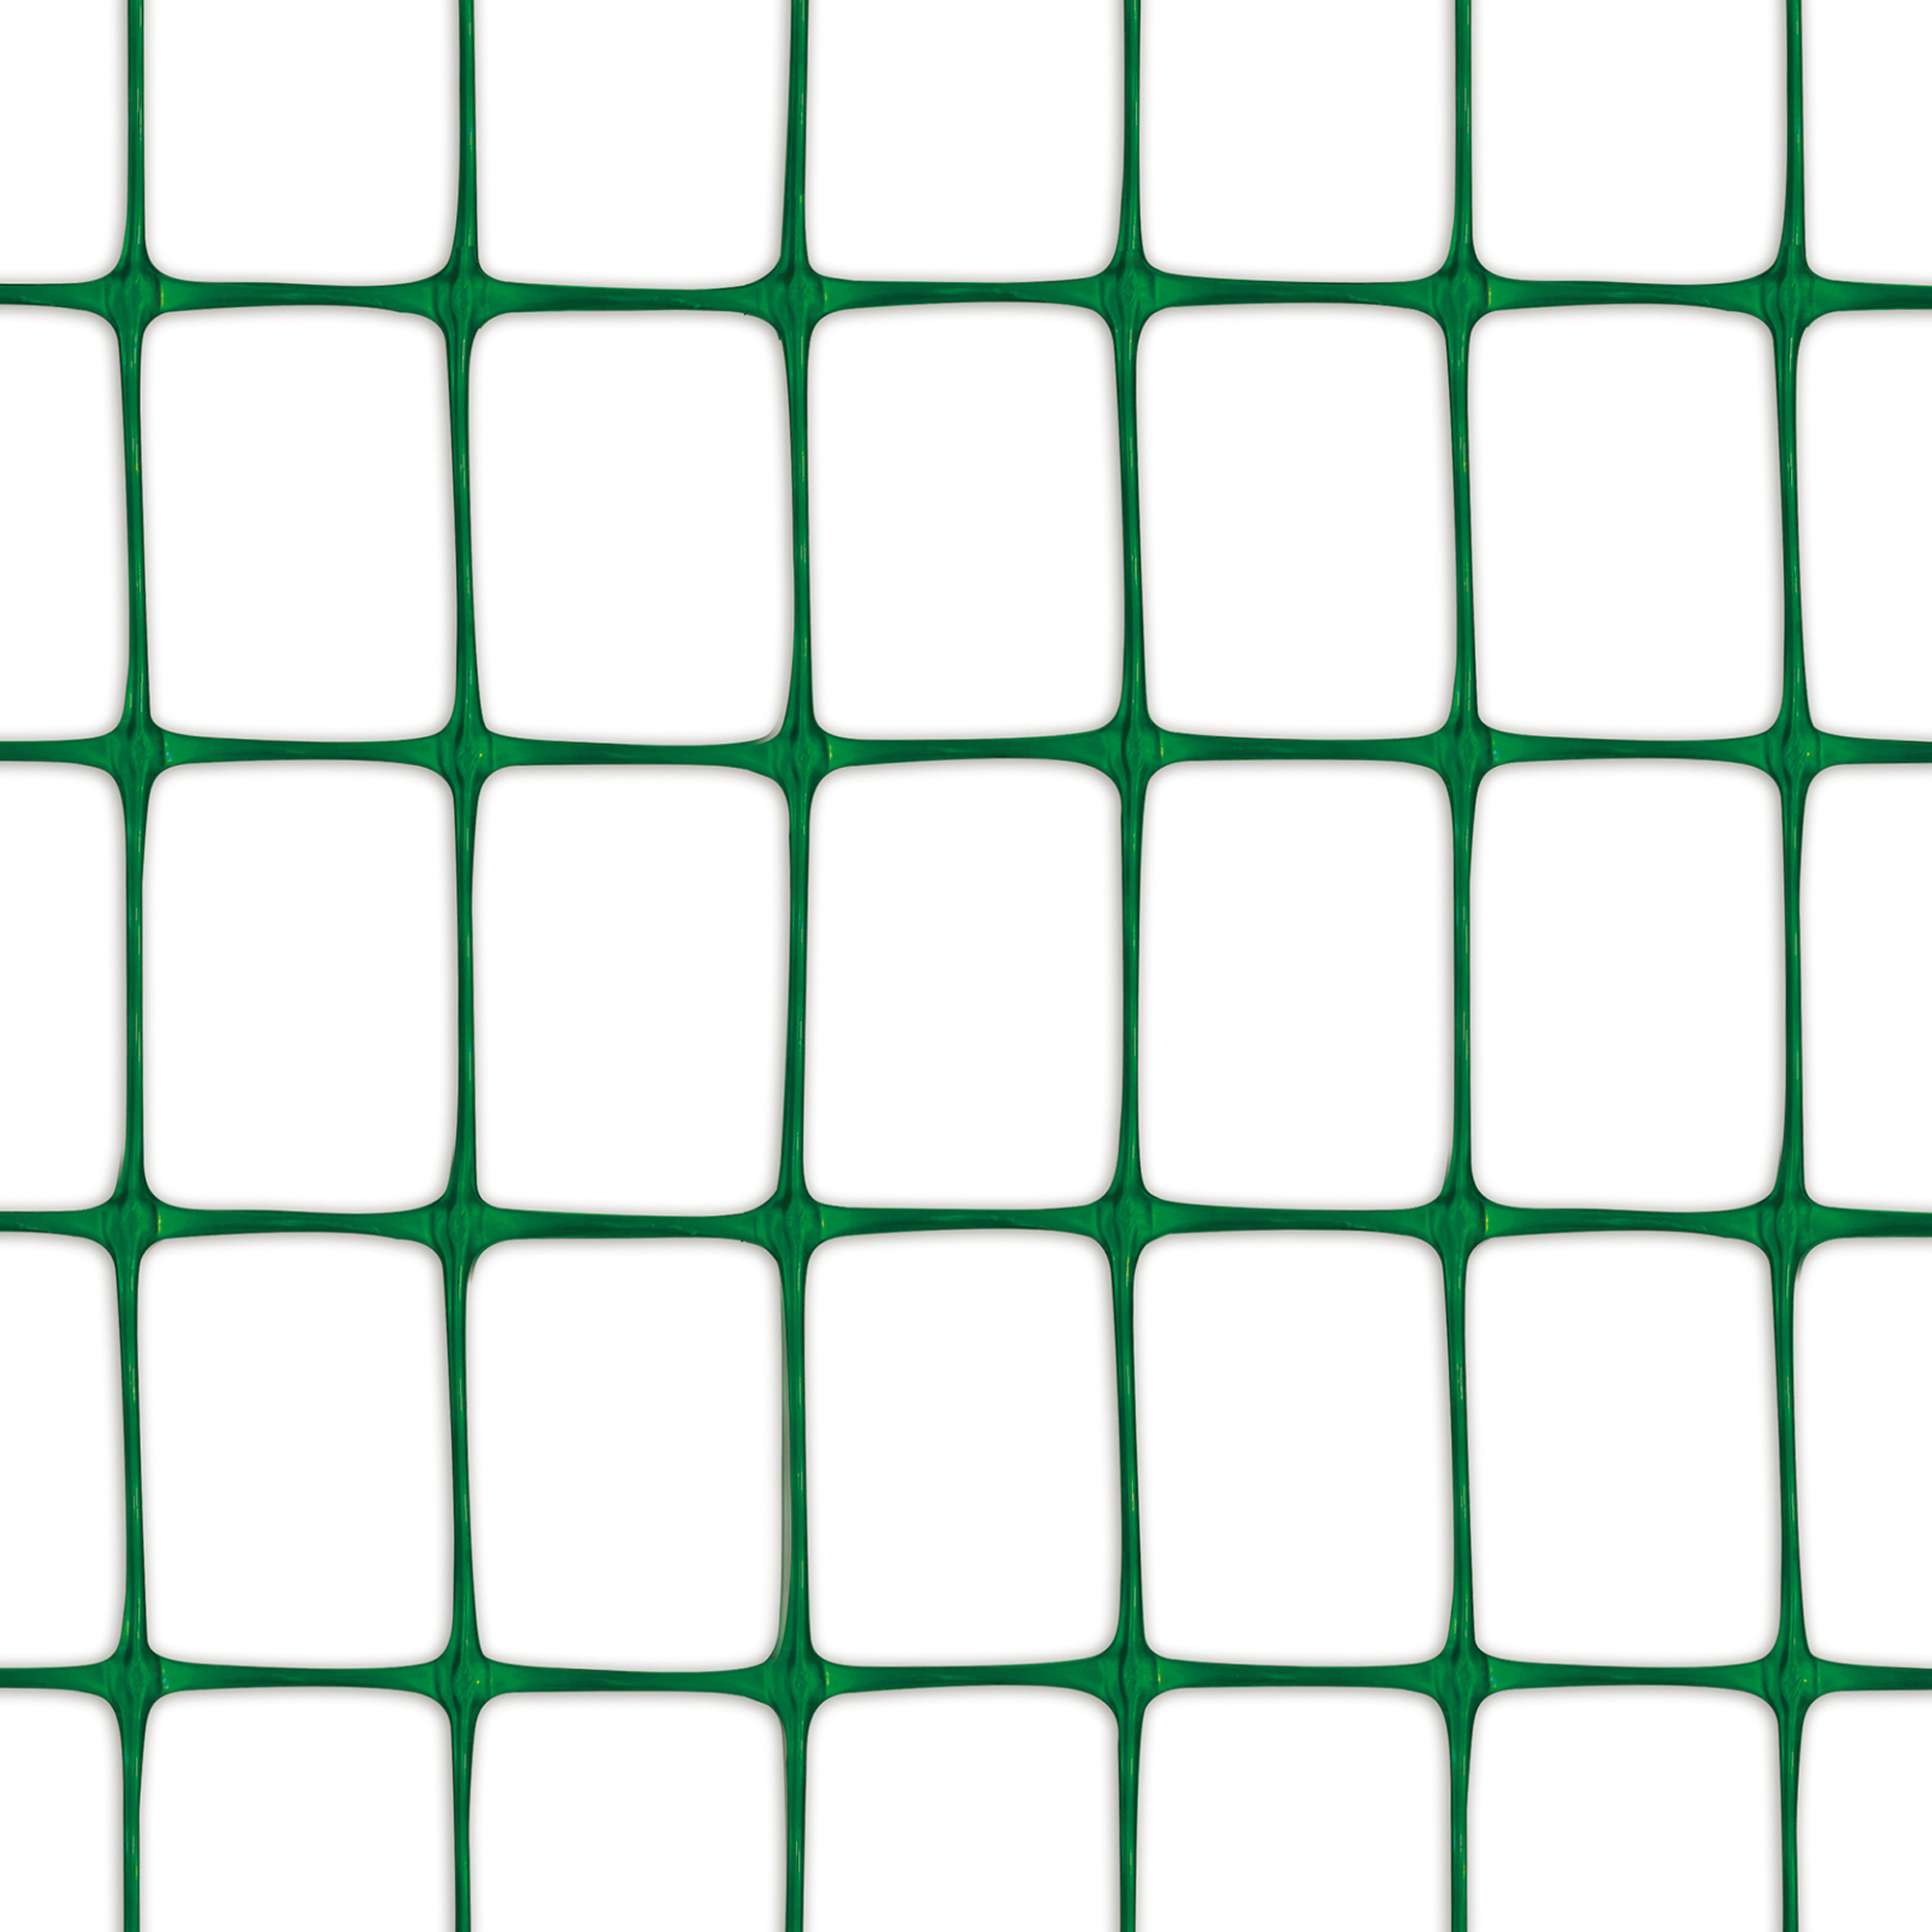
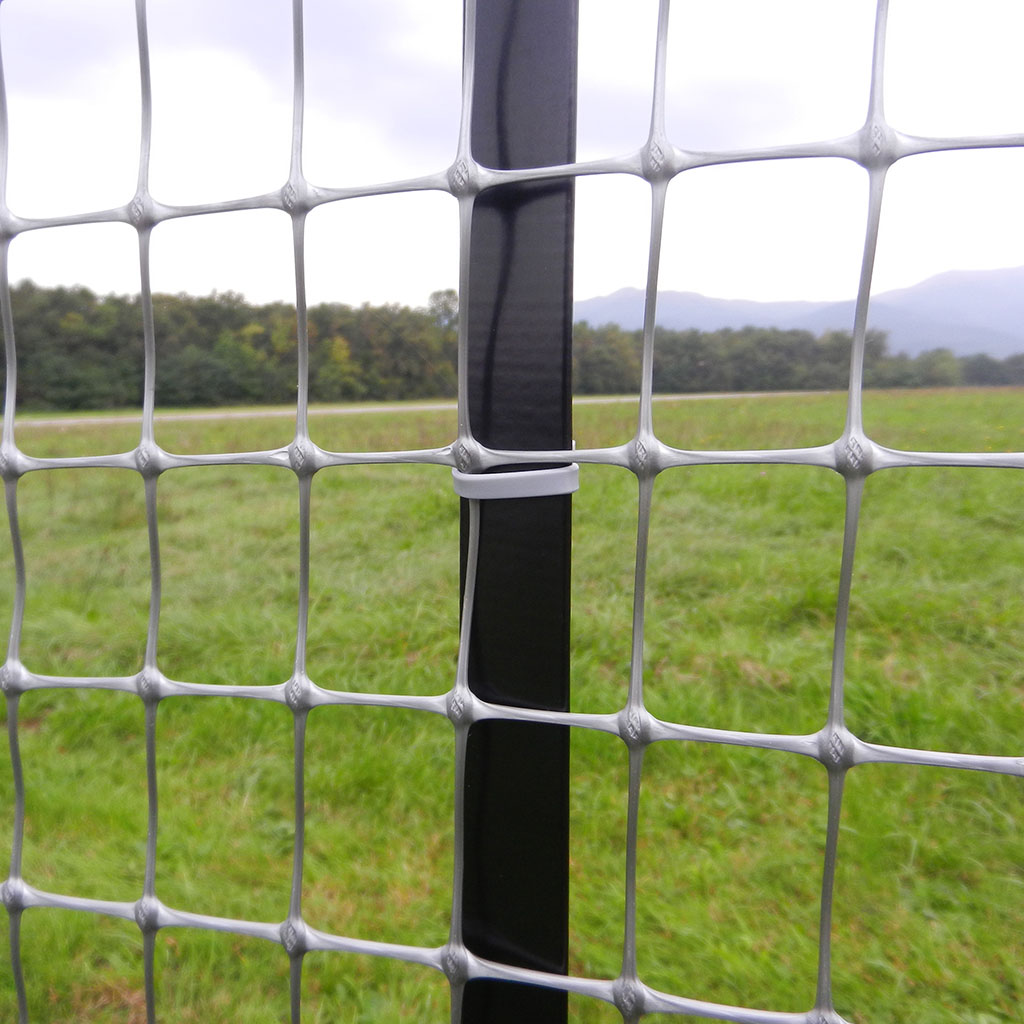
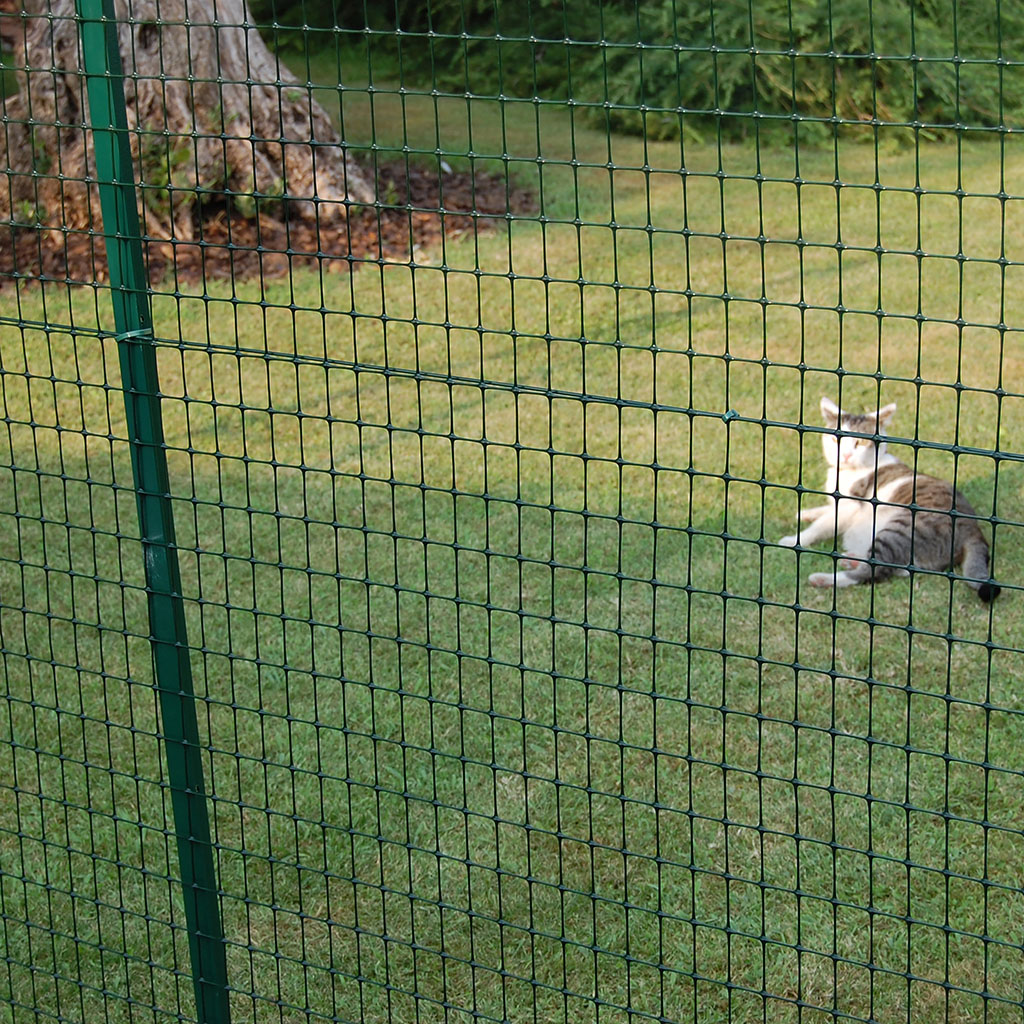
The TENAX MILLENNIUM mesh is a modern and reliable solution for creating resistant and long-lasting fences. Made from high-quality polypropylene and subjected to a two-way stretching process, it offers high resistance to traction, tearing, and breaking, guaranteeing performance comparable to that of metal mesh. Unlike metal, it is lightweight, easy to handle and install, ideal for permanent fencing in residential settings, green areas, and gardens. Its plastic structure also makes it perfect for use in coastal areas, as it is resistant to salt corrosion.

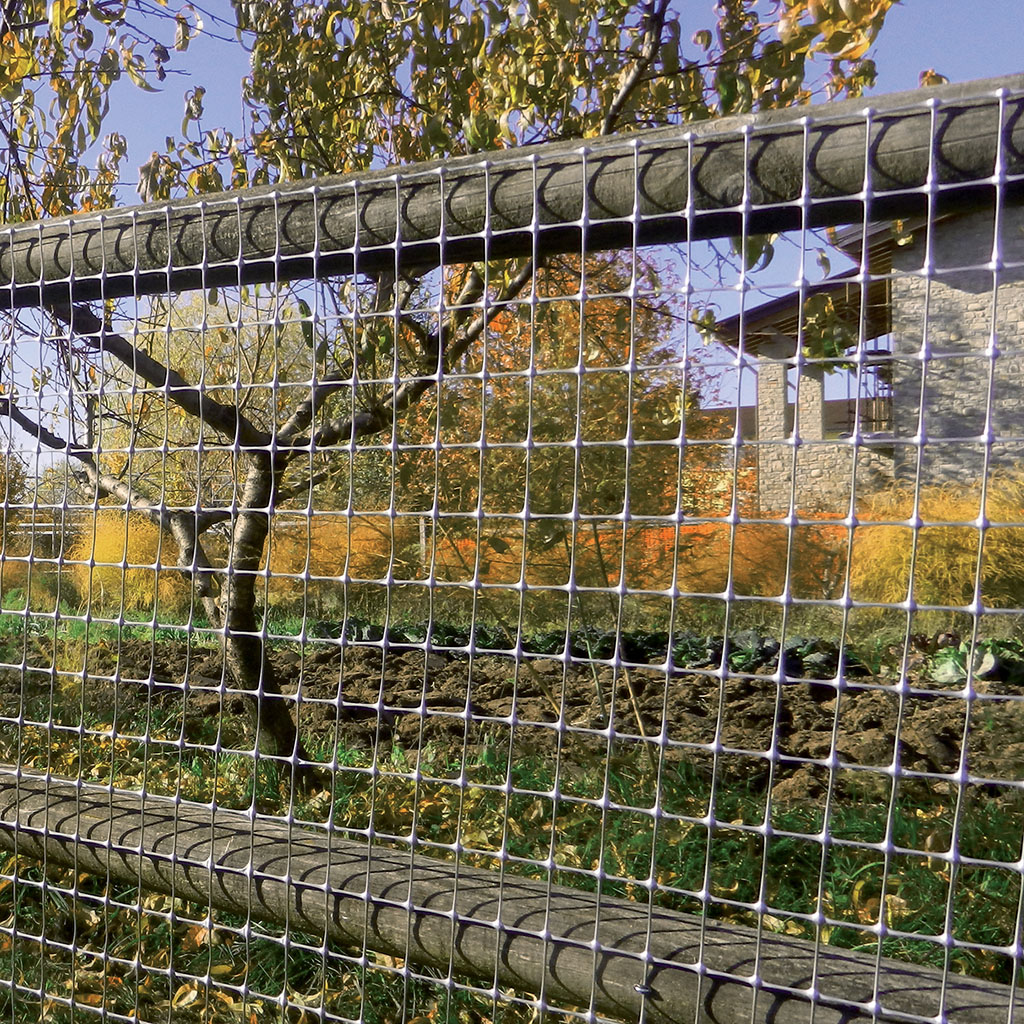
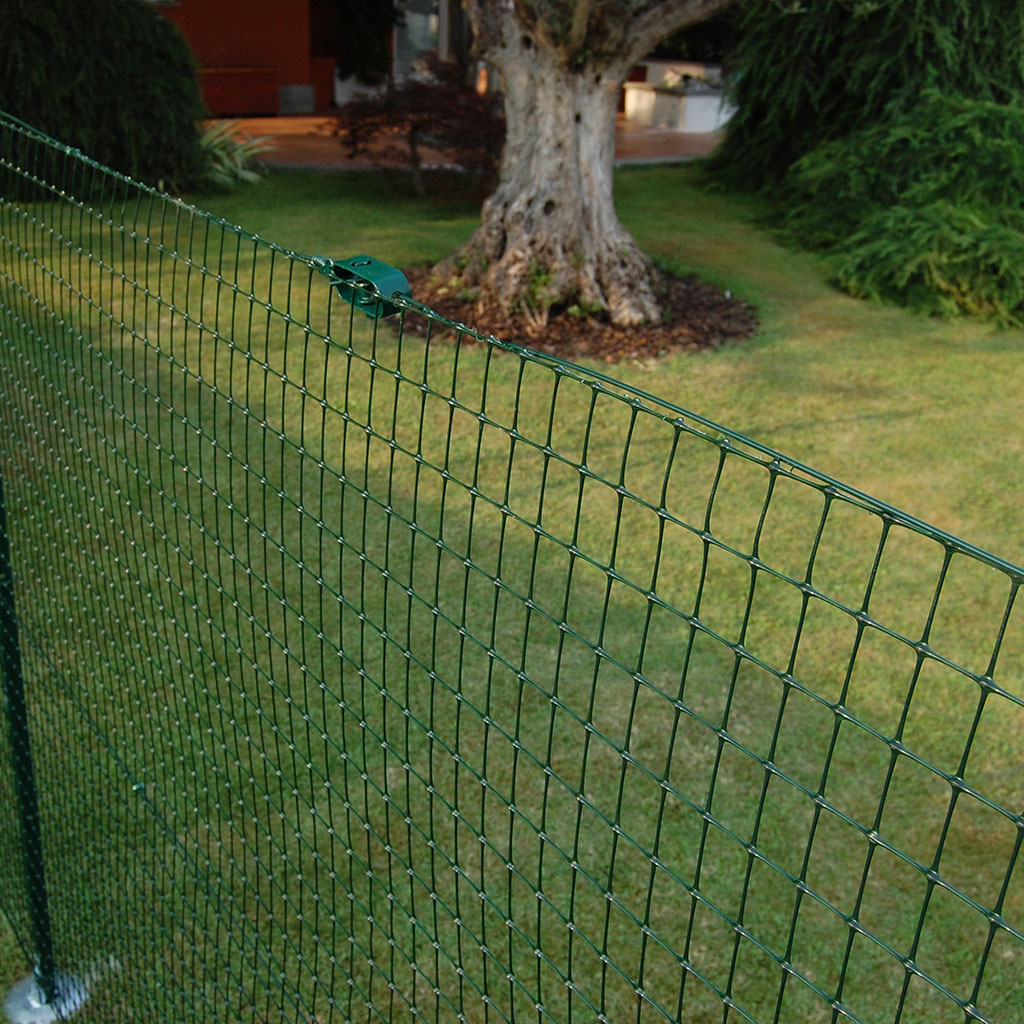
UV-stabilized, TENAX MILLENNIUM maintains its color and characteristics over time, even when exposed to the elements. It is easy to install by stretching it between support poles or applying it as a protective net on gates and fences.
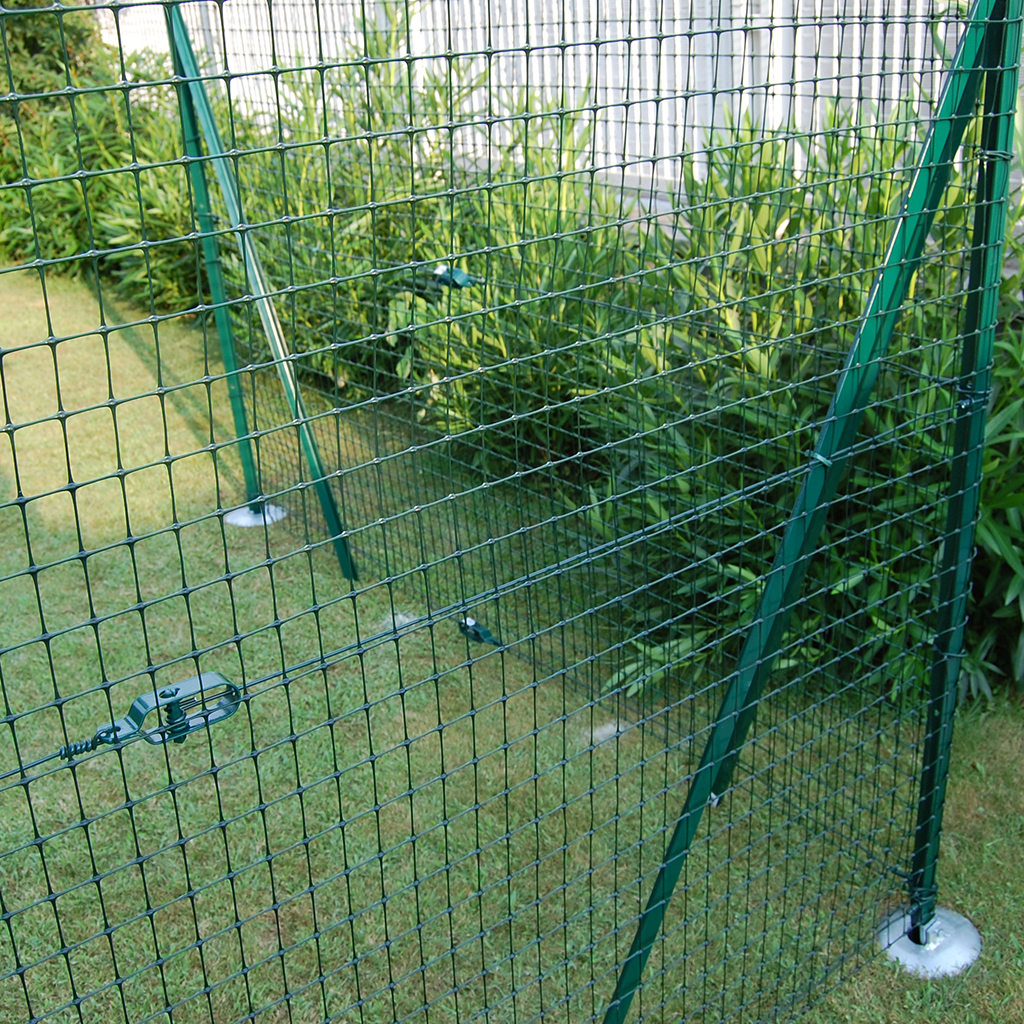
A versatile, sturdy, and easy-to-manage solution, designed for those looking for an aesthetically pleasing, functional, and durable fence.

Available colors
Features

Anti-UV

10-year warranty

Resistant

Top quality

Applications

TENAX polypropylene fences are used for various applications:

  • Separate and define spaces within gardens, vegetable gardens, agricultural areas, and recreational areas;
  • Protect against unwanted intrusions; create fences for events or temporary emergency situations.

Features

  • Durable material: made of polypropylene, resistant to atmospheric agents.
  • UV protection: anti-UV treatment to prevent color fading and ensure durability.
  • Easy installation: designed to be easily laid thanks to their light weight and TENAX accessories.
  • Low maintenance: they do not require painting or special treatments to maintain their appearance and functionality.

Benefits

  • Durability: resistance to atmospheric agents and UV rays ensures the fence will last a long time, reducing the need for frequent replacements.
  • Protection: they create a secure barrier to fence off and delimit gardens, vegetable gardens, recreational areas, and green spaces.
  • Versatility: their appearance and coloration reduce their visual impact in many contexts.
  • Save time and money: easy installation and low maintenance reduce the costs and time spent caring for your fence.
Code Dimensions (m) Color EAN code CONF/UDV UDV
60920252 2 x 50 SILVER 8002929046857 1 ROLL
72250132 1 X 10 SILVER 8002929054692 4 BOX
1A130229 1 x 25 SILVER 8002929109200 1 ROLL
1A130307 1.5 X 10 SILVER 8002929109873 4 BOX
1A130469 1 x 25 GREEN 8002929111180 1 ROLL
1A140412 1 X 10 GREEN 8002929114525 4 BOX
1A150009 1.5 X 10 GREEN 8002929114631 4 BOX
1A150010 1 x 25 DARK GREY 8002929114648 1 ROLL
1A150013 1 X 10 DARK GREY 8002929114662 4 BOX
1A150014 1.5 X 10 DARK GREY 8002929114679 4 BOX
1A210232 2 x 50 GREEN 8002929132253 1 ROLL
1A210233 2 x 50 DARK GREY 8002929132260 1 ROLL
Installation 1

1. Outline the area to be fenced

Place the stakes at the corners of the perimeter. Then place the outer stakes on the imaginary line of the perimeter about 40 cm from the corner point; stretch a guide wire (lignola). The outer stakes serve to keep the position of the corner stake visible even after it has been removed.

Installation 2

2. Mark the position of the posts

Remove the corner stakes and mark with chalk the points where the EXTRA T POST poles and EXTRA ARROW lightning rods will be positioned.

Installation 3

3. Installation of metal poles

Place the posts along the perimeter about 2 meters apart. The posts can be placed in concrete or directly in the ground.

3a. Setting the posts in concrete

Dig holes in the ground, using a shovel or machinery such as augers or mini excavators, to a depth of approximately 20-30 cm and a width of 20-30 cm; pour cement into the hole and position the posts until they touch the bottom, checking that they are perfectly perpendicular to the ground and aligned with the previously stretched string. Wait for the cement to dry completely before installing the fence, so as not to misalign the posts when installing the mesh.

Installation 5

3b. Driving the posts into the ground

Drill holes in the ground to a depth of approximately 50 cm, insert the posts, cover with excavated soil, and compact.

Installation 6

4. Laying plastic-coated metal wires

Strengthen the fence by pulling the Tenax EXTRA WIRE plastic-coated metal wire through the holes in each post and securing them to the corresponding Tenax TENDIFILO wire tensioners. Leave the central wire free to move so that it can be aligned with the mesh of the net during fastening. Position the wire tensioners between the two posts and at each wire position. Pass each wire through the appropriate gear on the wire tensioner. Using pliers or a wrench, tighten the plastic-coated wires.

Installation 7

5. Laying the mesh

Unroll the net along the positioned poles; initially unroll the entire net and temporarily secure it to the poles.

Installation 8

6. Securing the net

Secure the mesh to the wires and posts using Tenax EXTRA WIRE plastic-coated metal wire or special FIX-TIE plastic ties. Pull and finish installing the net, checking the alignment of the posts and the tension of the wires.

Plastic net – Installation for hobbyists

Plastic net – Technical installation

Plastic net – Area tracking

Plastic net – Saette

Plastic net – Laying tension wires

Plastic net – Tying and fastening