Plastic fencing net, for pet and farmyard enclosures

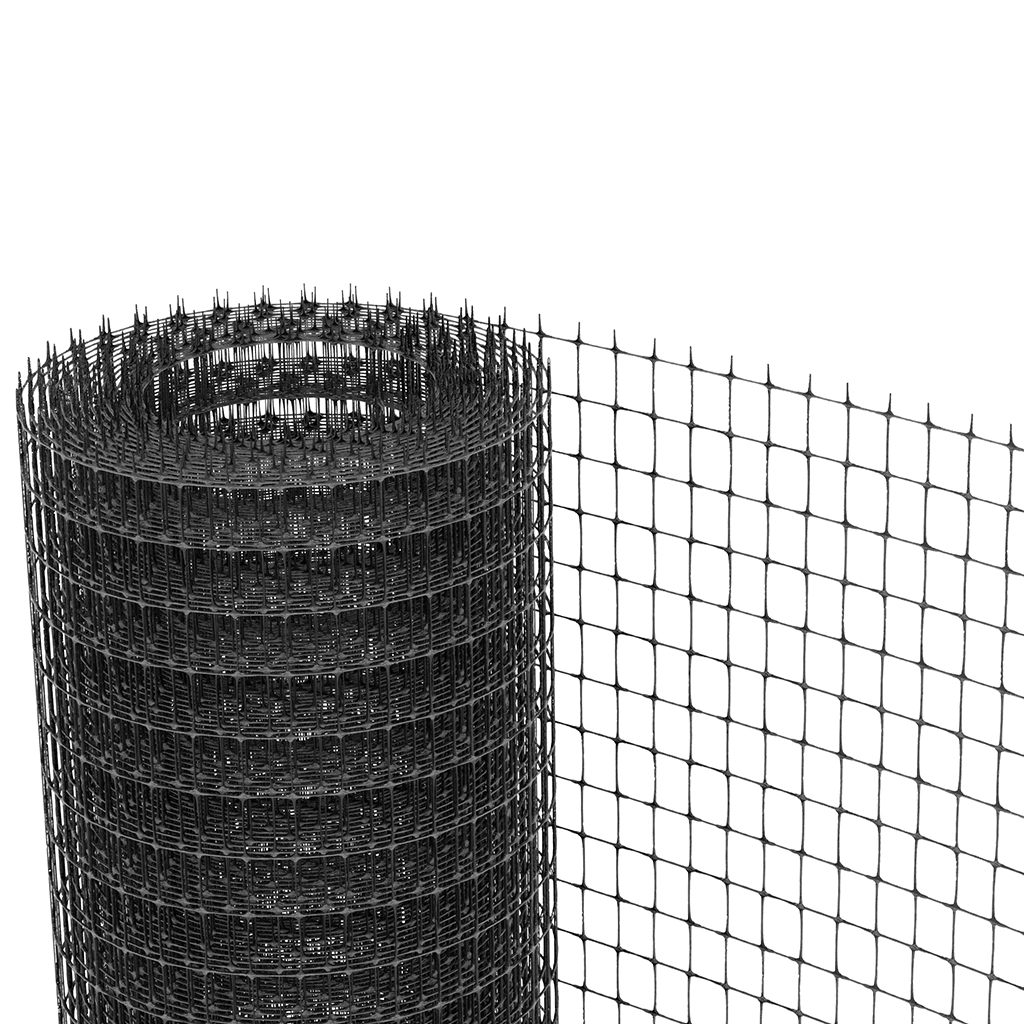
The exclusive production process of the wires guarantees TENAX CINTOFLEX fencing mesh extremely high tensile strength and long-lasting durability.
The lightness of its wires makes it an ideal economical solution for creating fences for pets and farmyard animals.
It is innovative, made from 100% polypropylene, and has high tensile and tear resistance values thanks to its longitudinal and transverse molecular orientation.

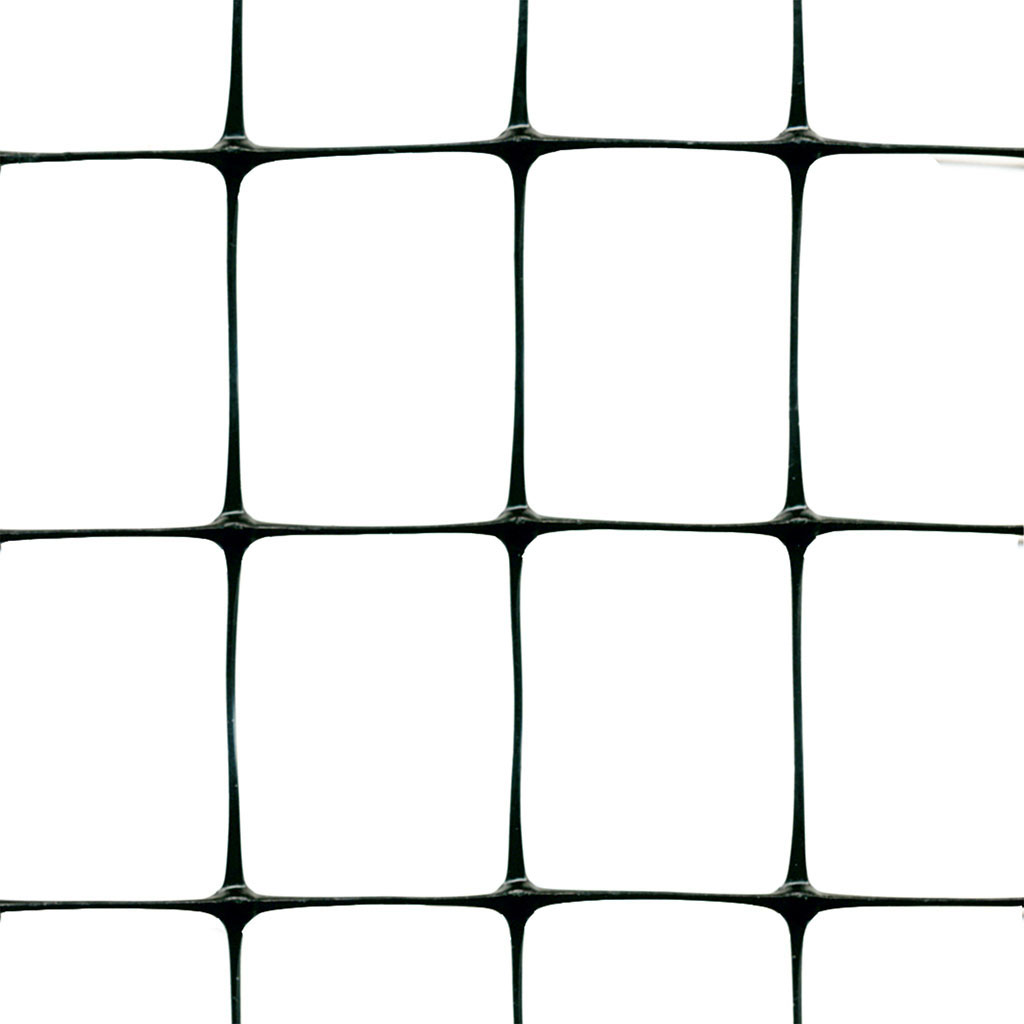
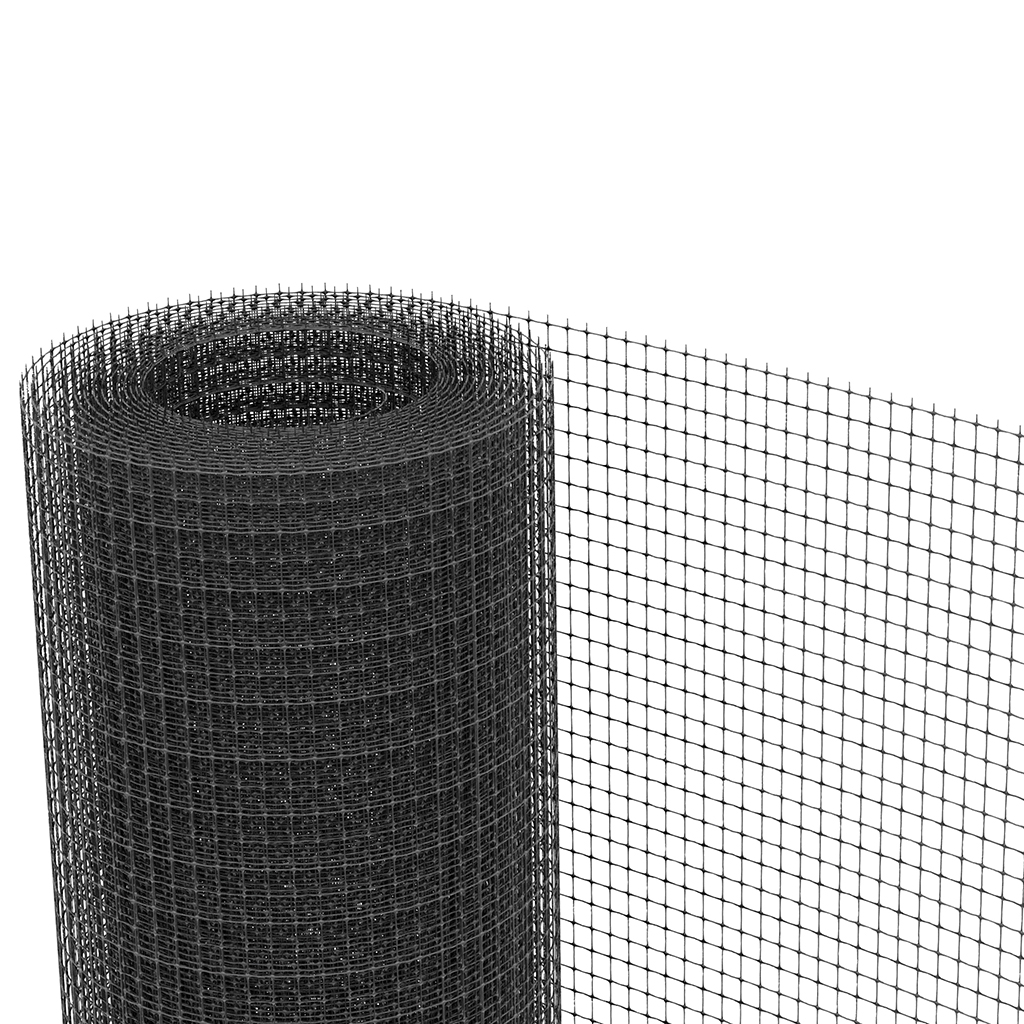
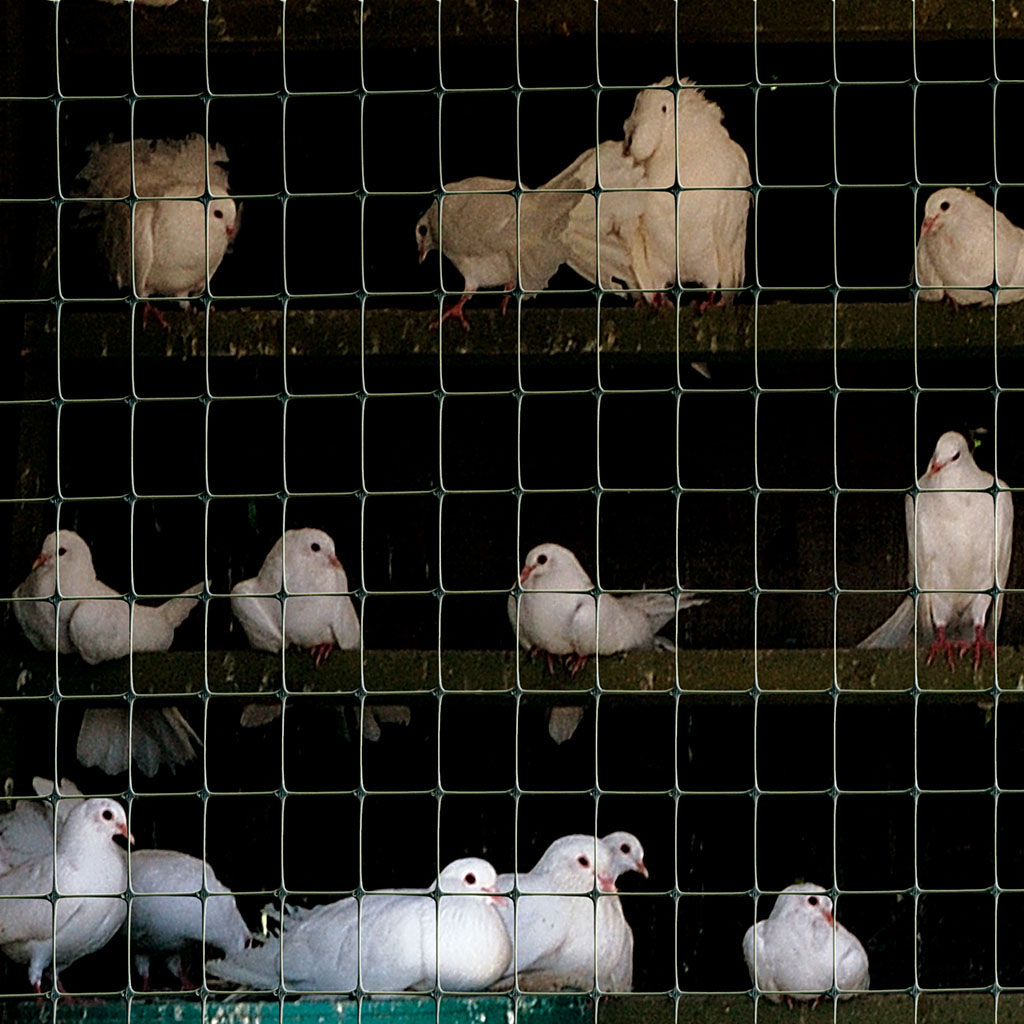
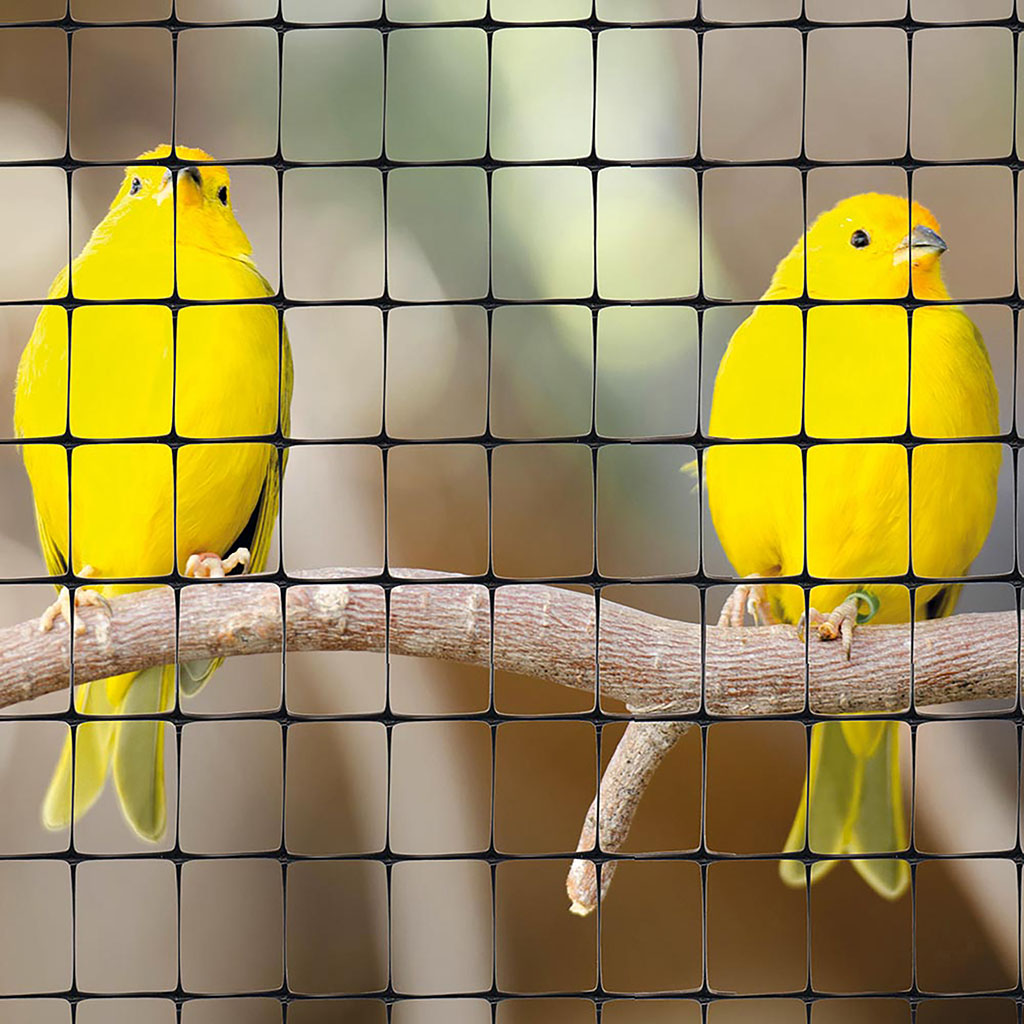
CINTOFLEX E: with a smaller mesh size (13×15 mm), it is particularly suitable for small bird aviaries and poultry cages.

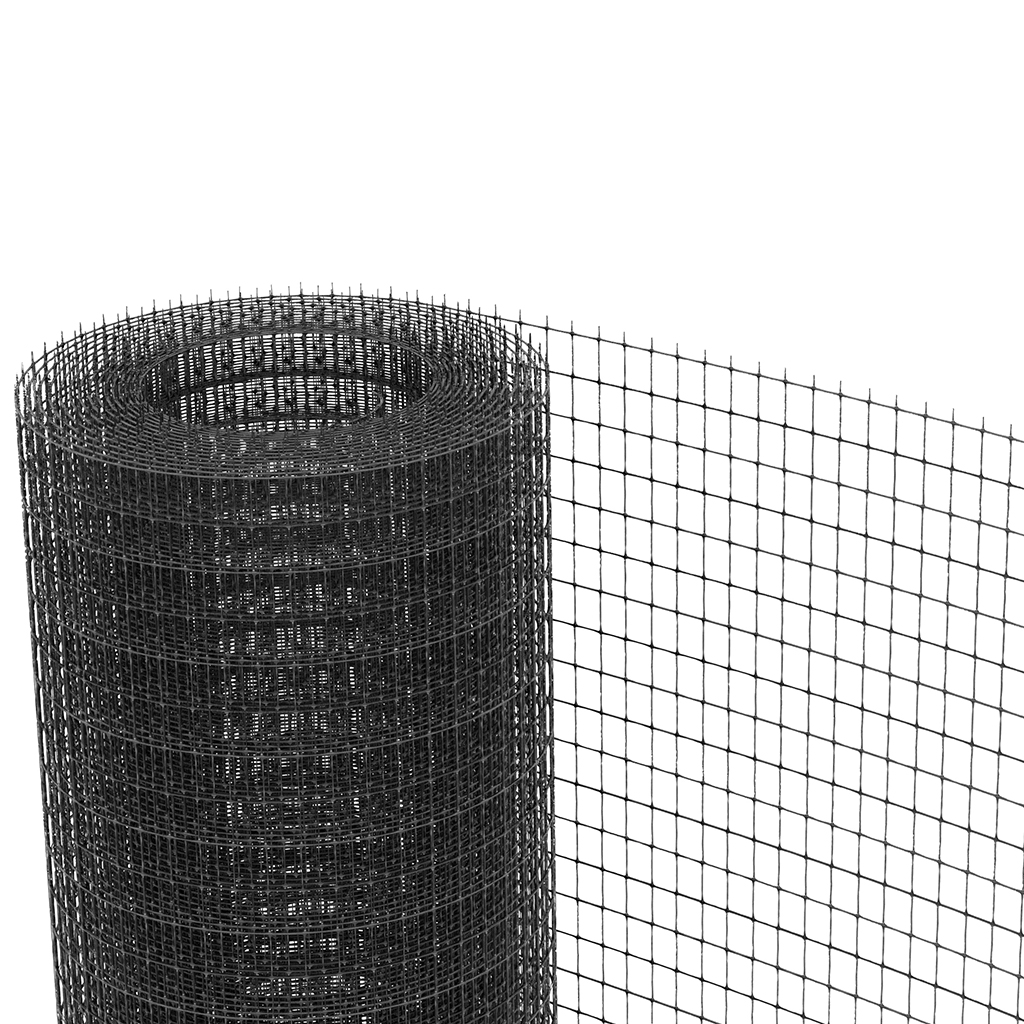
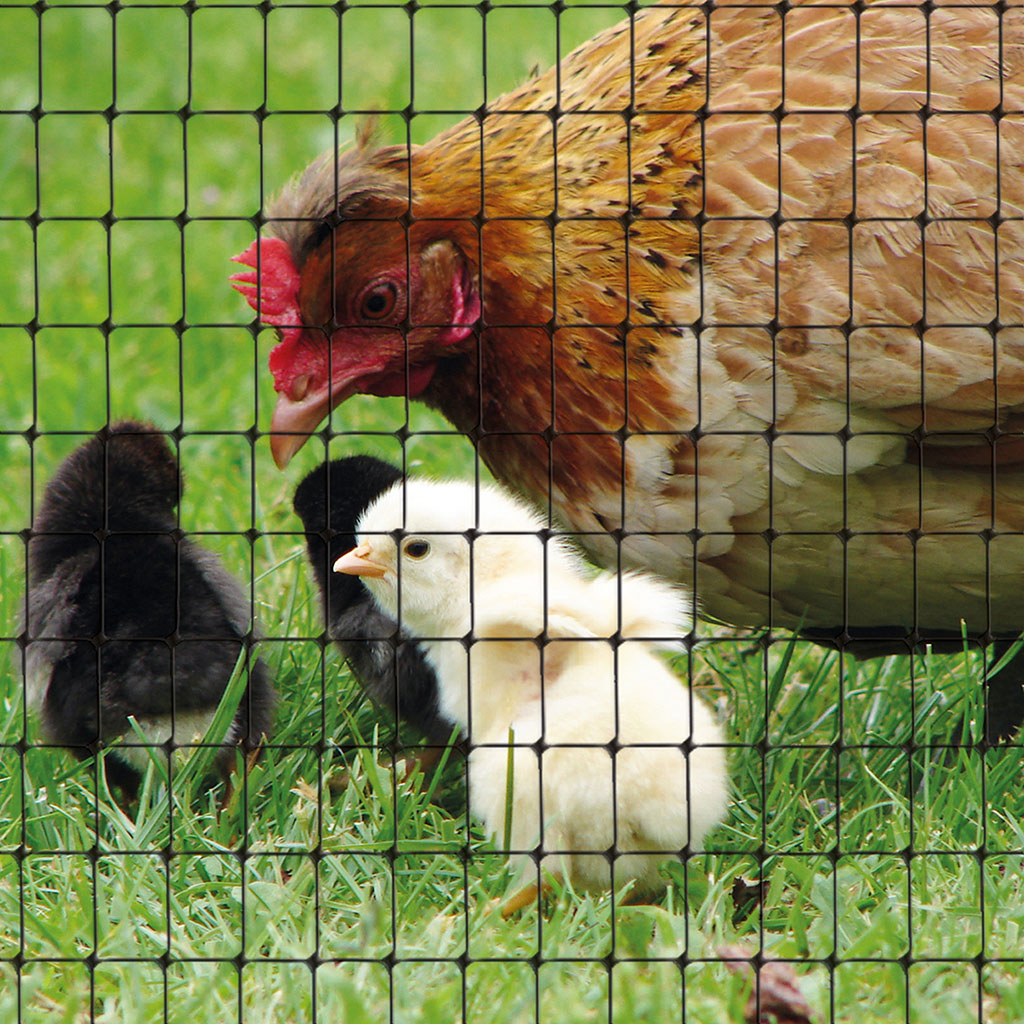
CINTOFLEX M: with a medium mesh size (18×25 mm), it is mainly used to build cages and small enclosures.

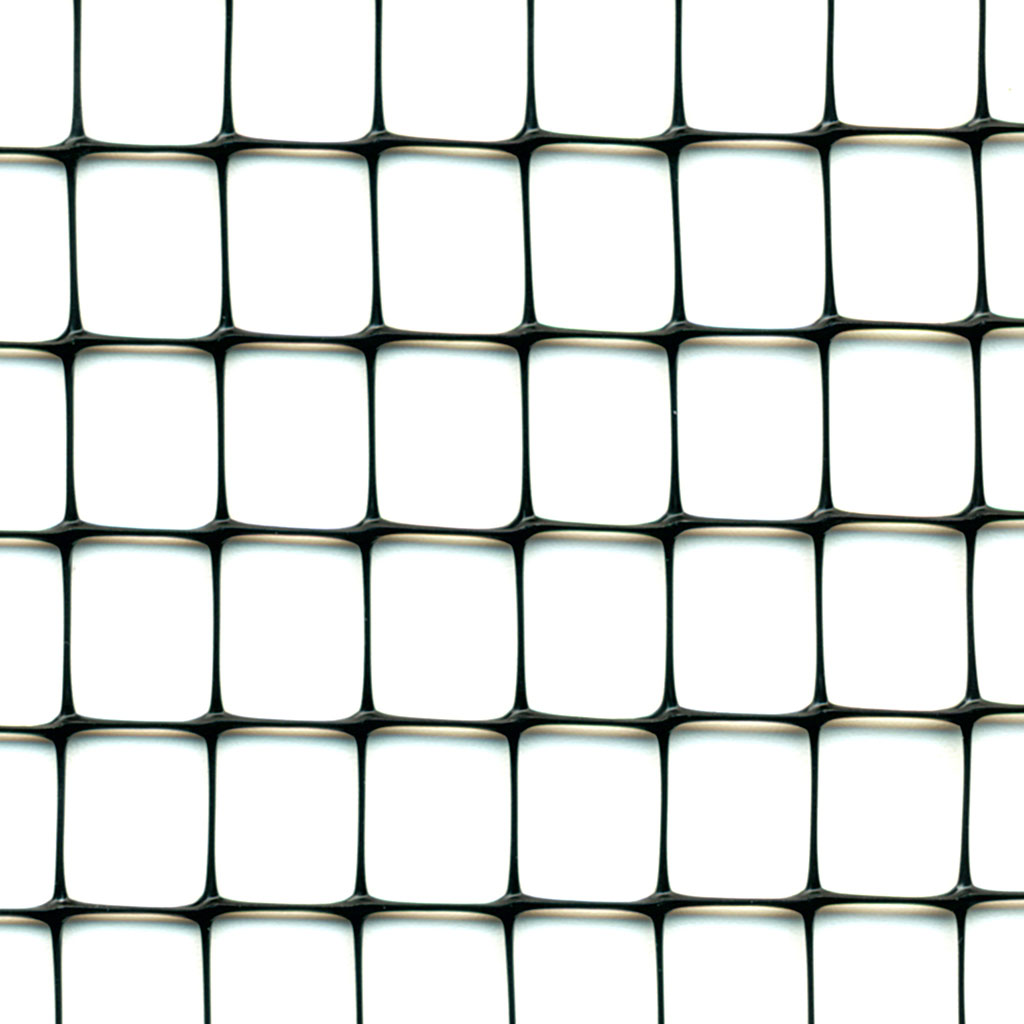
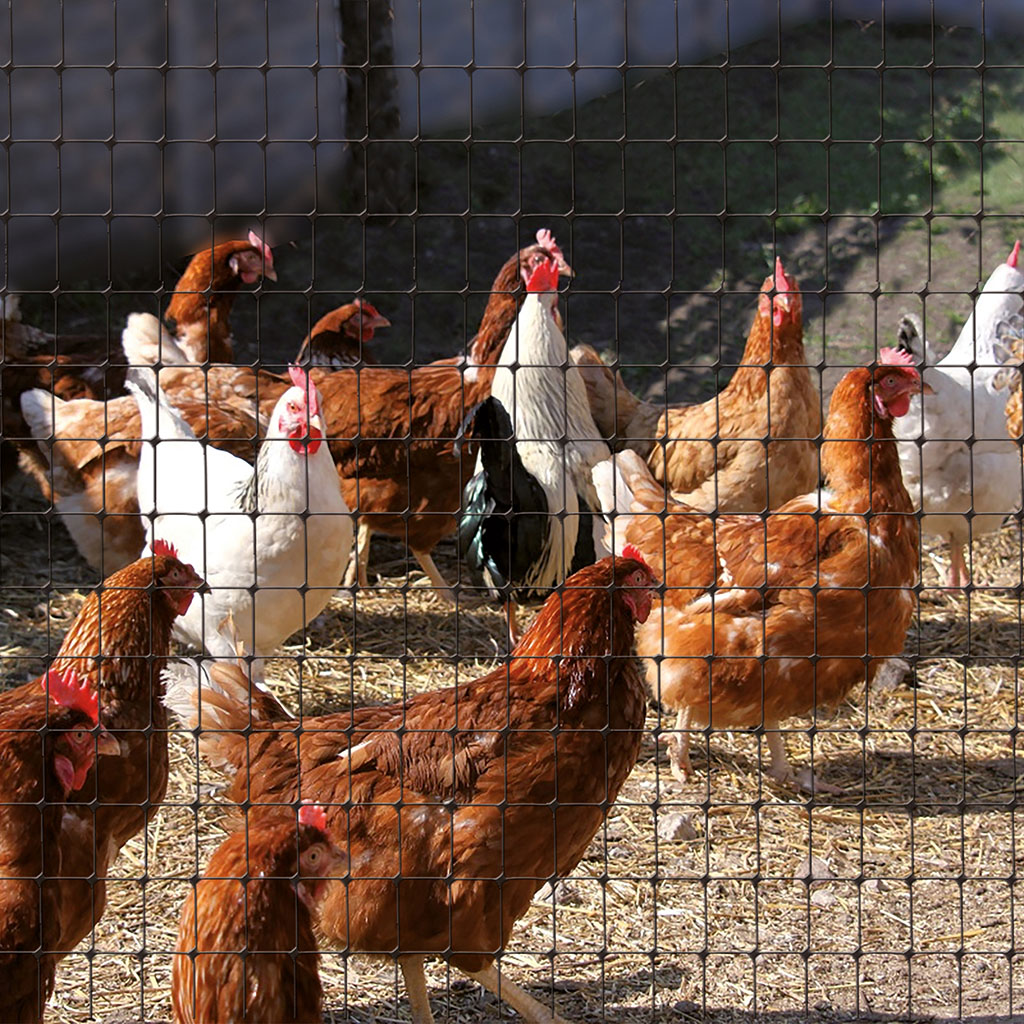
CINTOFLEX D: with wide mesh (22×35 mm), it is ideal for creating enclosures for pets and farmyard animals.

Available colors
Features

Anti-UV

Economical

10-year warranty

Applications

TENAX polypropylene fences are used for various applications:

  • Separate and define spaces within gardens, vegetable gardens, agricultural areas, and recreational areas;
  • Protect against unwanted intrusions; build fences for events or temporary emergency situations;
  • Build aviaries and create enclosures for pets or farm animals.

Features

  • Durable material: made of polypropylene, resistant to atmospheric agents.
  • UV protection: anti-UV treatment to prevent color fading and ensure durability.
  • Easy installation: designed to be easily laid thanks to their light weight and TENAX accessories.
  • Variety of types and colors: produced in different meshes to suit multiple applications.
  • Low maintenance: they do not require painting or special treatments to maintain their appearance and functionality.

Benefits

  • Durability: resistance to atmospheric agents and UV rays ensures the fence will last a long time, reducing the need for frequent replacements.
  • Protection: they create a secure barrier to fence off and delimit gardens, vegetable gardens, recreational areas, and green spaces.
  • Versatility: their appearance and coloration reduce their visual impact in many contexts.
  • Save time and money: easy installation and low maintenance reduce the costs and time spent caring for your fence.
Installation 1

1. Outline the area to be fenced

Place the stakes at the corners of the perimeter. Then place the outer stakes on the imaginary line of the perimeter about 40 cm from the corner point; stretch a guide wire (lignola). The outer stakes serve to keep the position of the corner stake visible even after it has been removed.

Installation 2

2. Mark the position of the posts

Remove the corner stakes and mark with chalk the points where the EXTRA T POST poles and EXTRA ARROW lightning rods will be positioned.

Installation 3

3. Installation of metal poles

Place the posts along the perimeter about 2 meters apart. The posts can be placed in concrete or directly in the ground.

3a. Setting the posts in concrete

Dig holes in the ground, using a shovel or machinery such as augers or mini excavators, to a depth of approximately 20-30 cm and a width of 20-30 cm; pour cement into the hole and position the posts until they touch the bottom, checking that they are perfectly perpendicular to the ground and aligned with the previously stretched string. Wait for the cement to dry completely before installing the fence, so as not to misalign the posts when installing the mesh.

Installation 5

3b. Driving the posts into the ground

Drill holes in the ground to a depth of approximately 50 cm, insert the posts, cover with excavated soil, and compact.

Installation 6

4. Laying plastic-coated metal wires

Strengthen the fence by pulling the Tenax EXTRA WIRE plastic-coated metal wire through the holes in each post and securing them to the corresponding Tenax TENDIFILO wire tensioners. Leave the central wire free to move so that it can be aligned with the mesh of the net during fastening. Position the wire tensioners between the two posts and at each wire position. Pass each wire through the appropriate gear on the wire tensioner. Using pliers or a wrench, tighten the plastic-coated wires.

Installation 7

5. Laying the mesh

Unroll the net along the positioned poles; initially unroll the entire net and temporarily secure it to the poles.

Installation 8

6. Securing the net

Secure the mesh to the wires and posts using Tenax EXTRA WIRE plastic-coated metal wire or special FIX-TIE plastic ties. Pull and finish installing the net, checking the alignment of the posts and the tension of the wires.