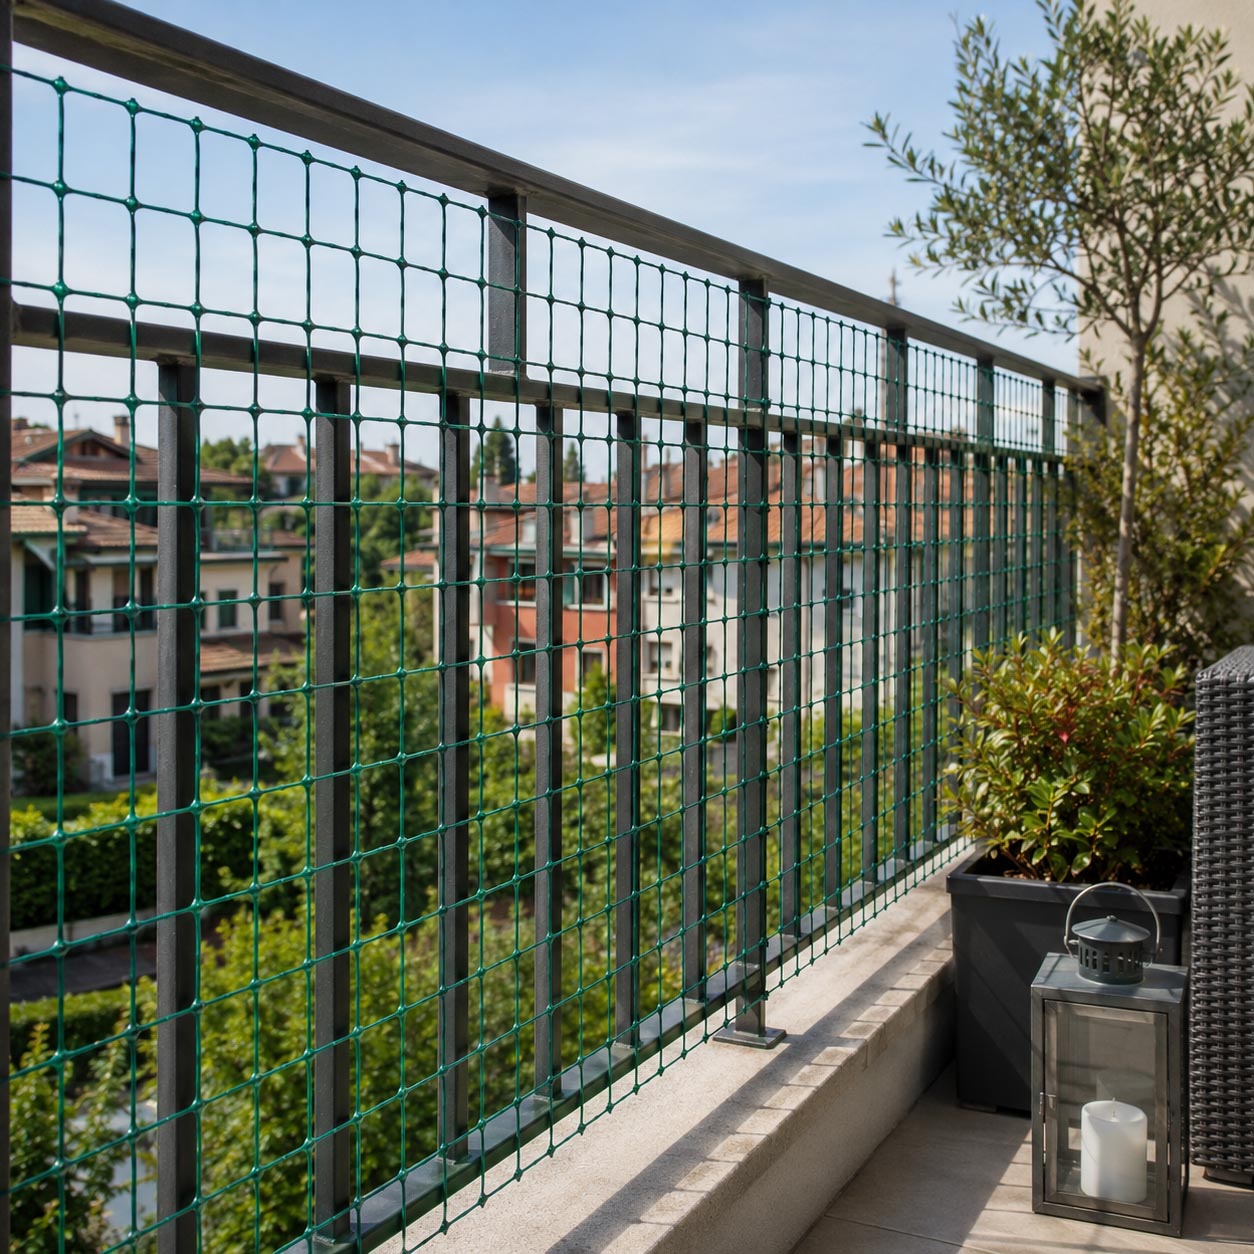

High-strength plastic fencing mesh for gardens, green spaces, and residential areas

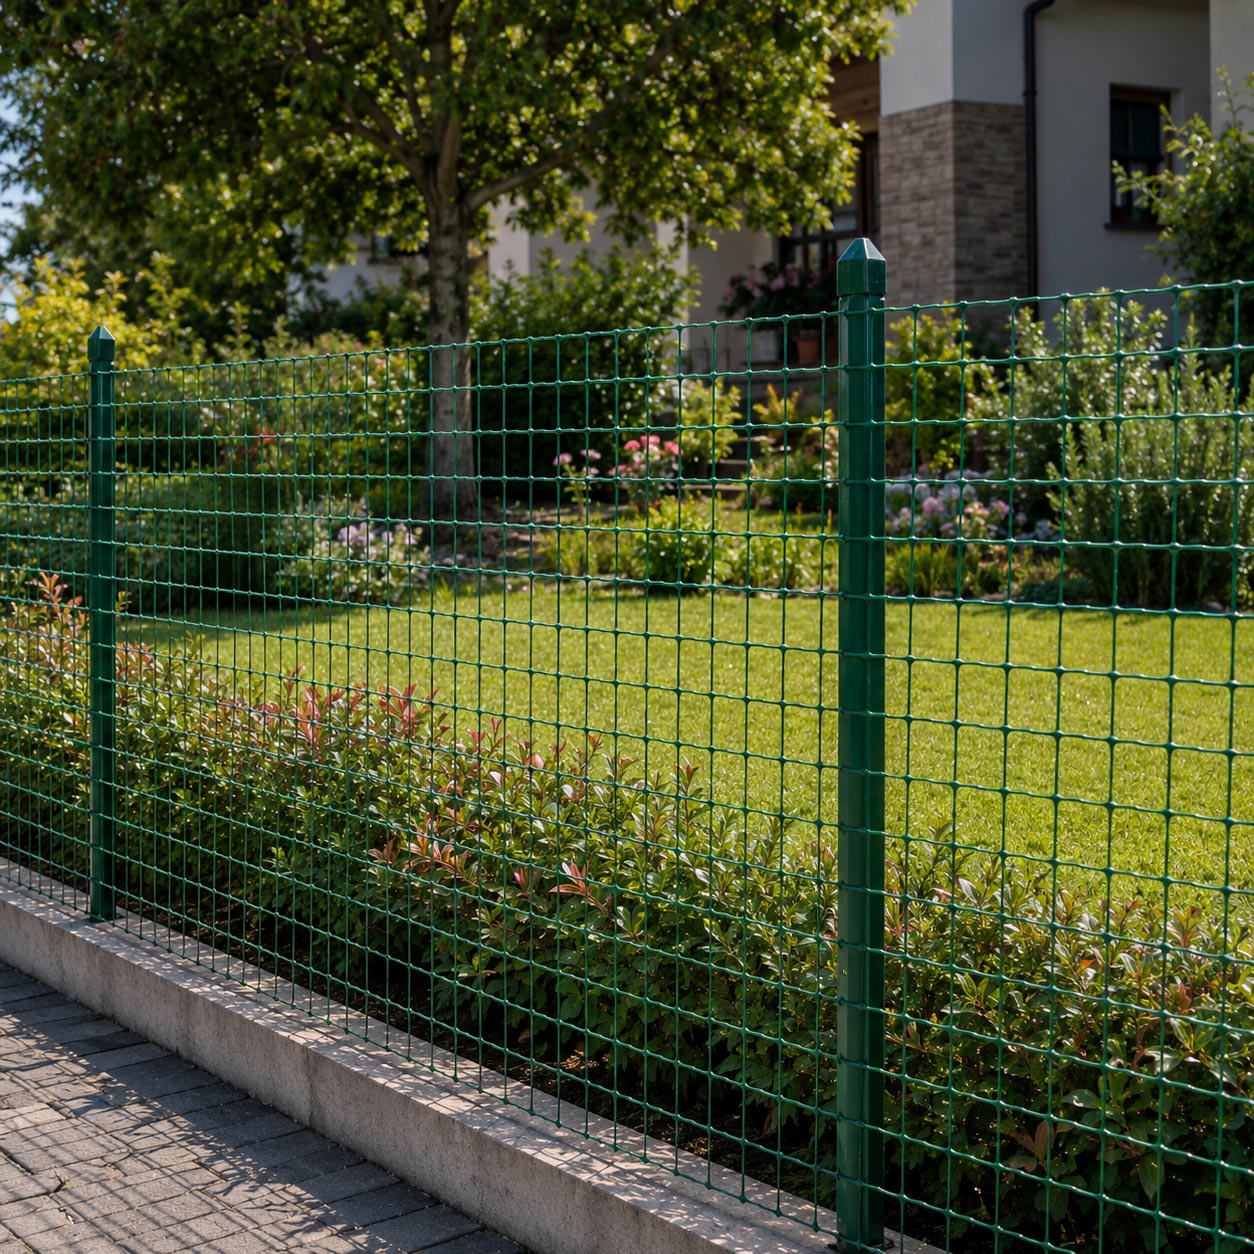
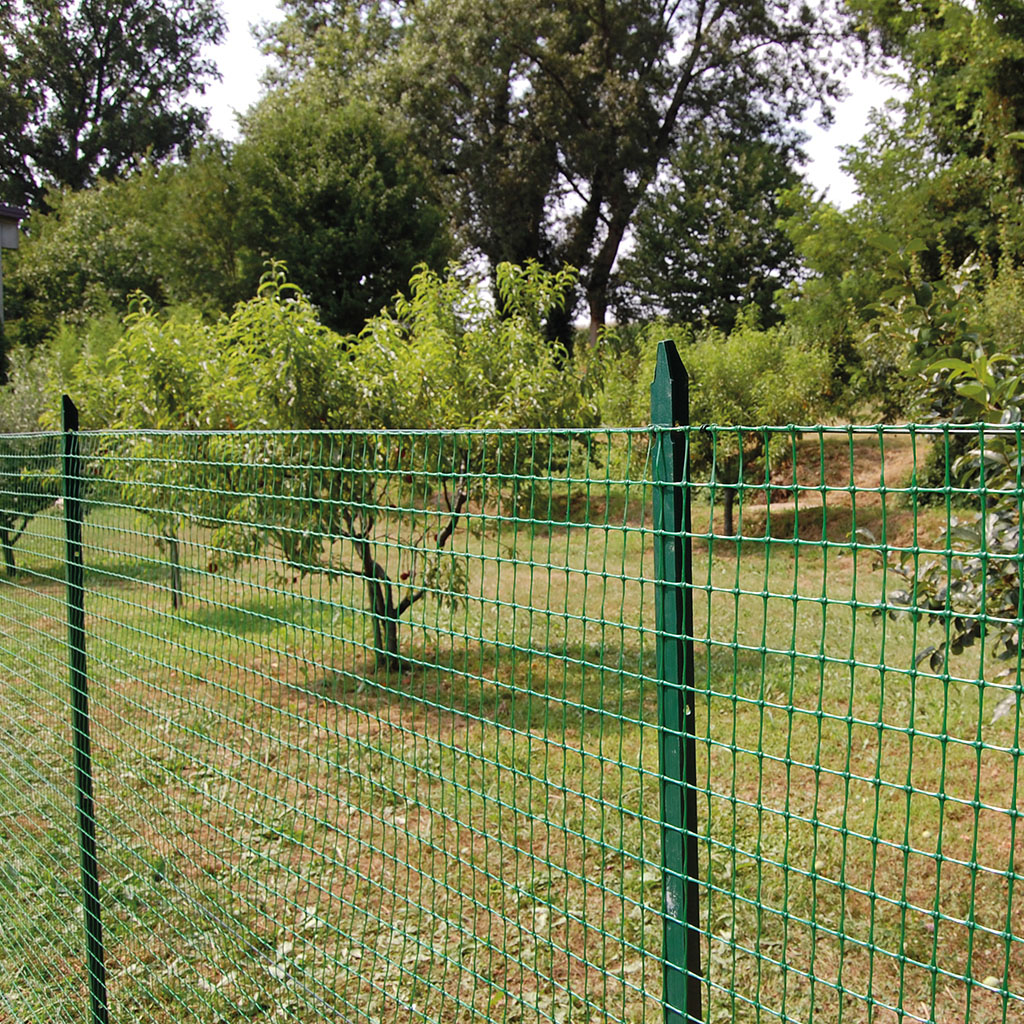
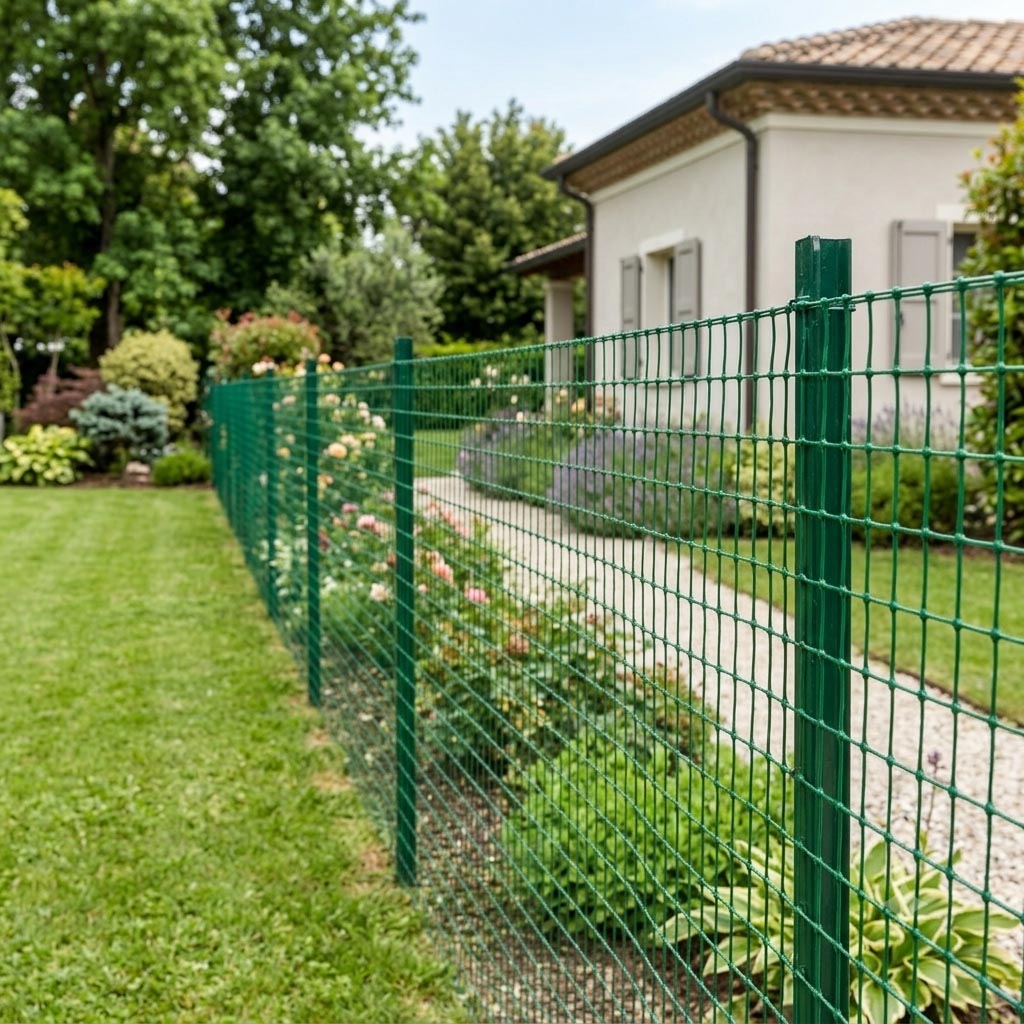
TENAX RANCH is a polypropylene fencing mesh designed for use in permanent fencing in gardens, green spaces, and residential areas.

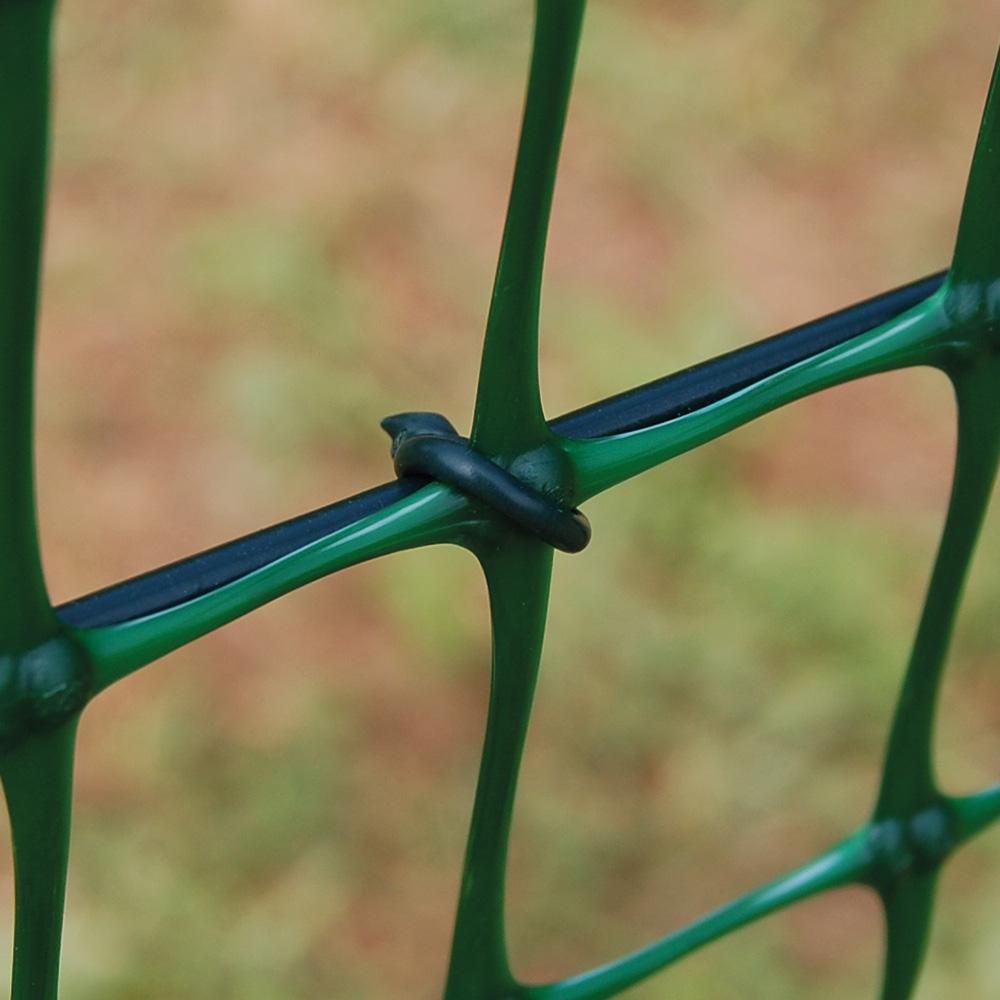
The mesh undergoes a special molecular orientation process in both directions of the weave. This technology gives the wires high tensile strength, tear resistance, and puncture resistance, while keeping the structure lighter and more manageable than traditional metal meshes.

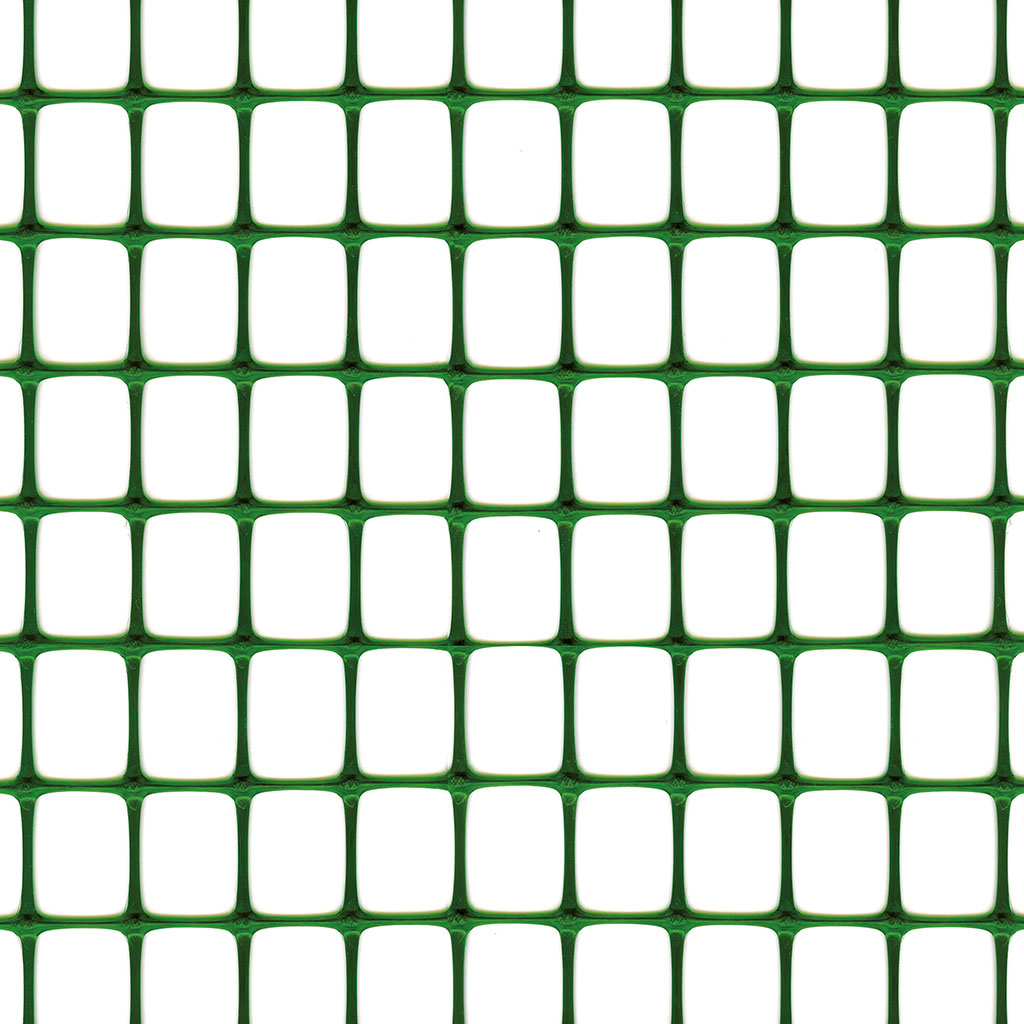
With a mesh size of 30 × 45 mm and a weight of 140 g/m², RANCH is a sturdy solution for marking the boundaries of properties, gardens, and outdoor spaces. Its green color allows the fence to blend discreetly into the surrounding vegetation and landscape.

UV-stabilized, it is designed to withstand long-term exposure to sunlight and the elements. It can be installed between support posts or mounted on gates, existing fences, balconies, and terraces.

Manufactured in Italy using TENAX’s expertise, it does not require painting or periodic protective treatments.
Available colors
Features

Anti-UV

10-year warranty

Resistant

  • install permanent fences for gardens and private properties;
  • to delineate green areas and residential spaces;
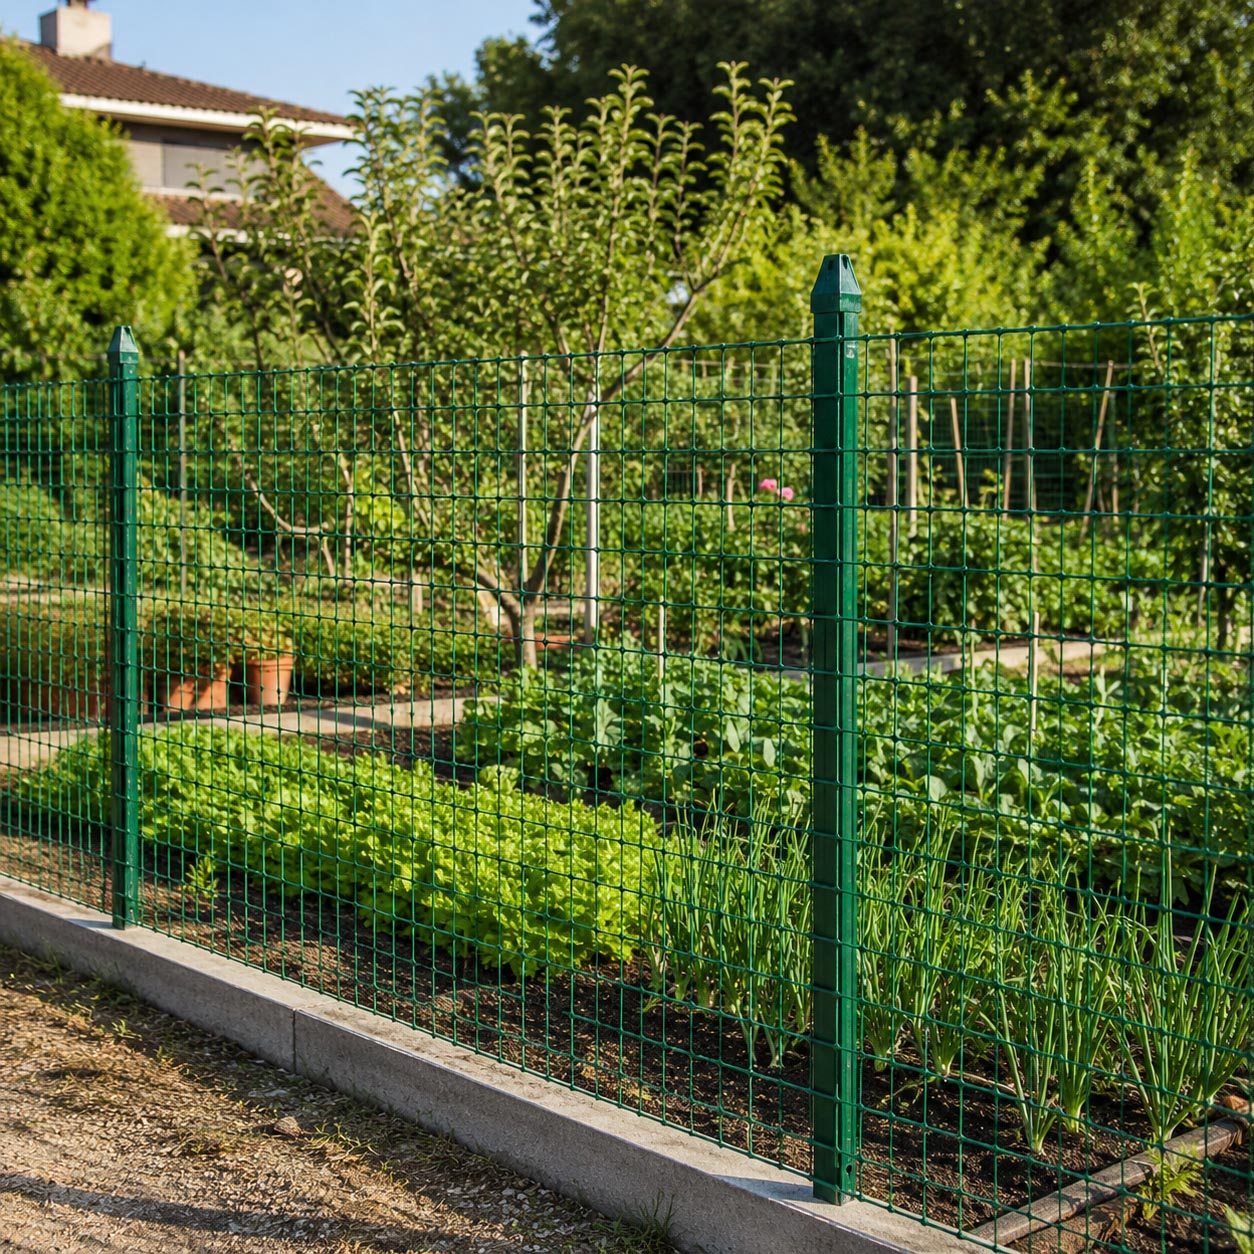
  • to divide areas within vegetable gardens and plots of land;
  • complete existing gates and fences;
  • provide additional protection on railings, balconies, and terraces;
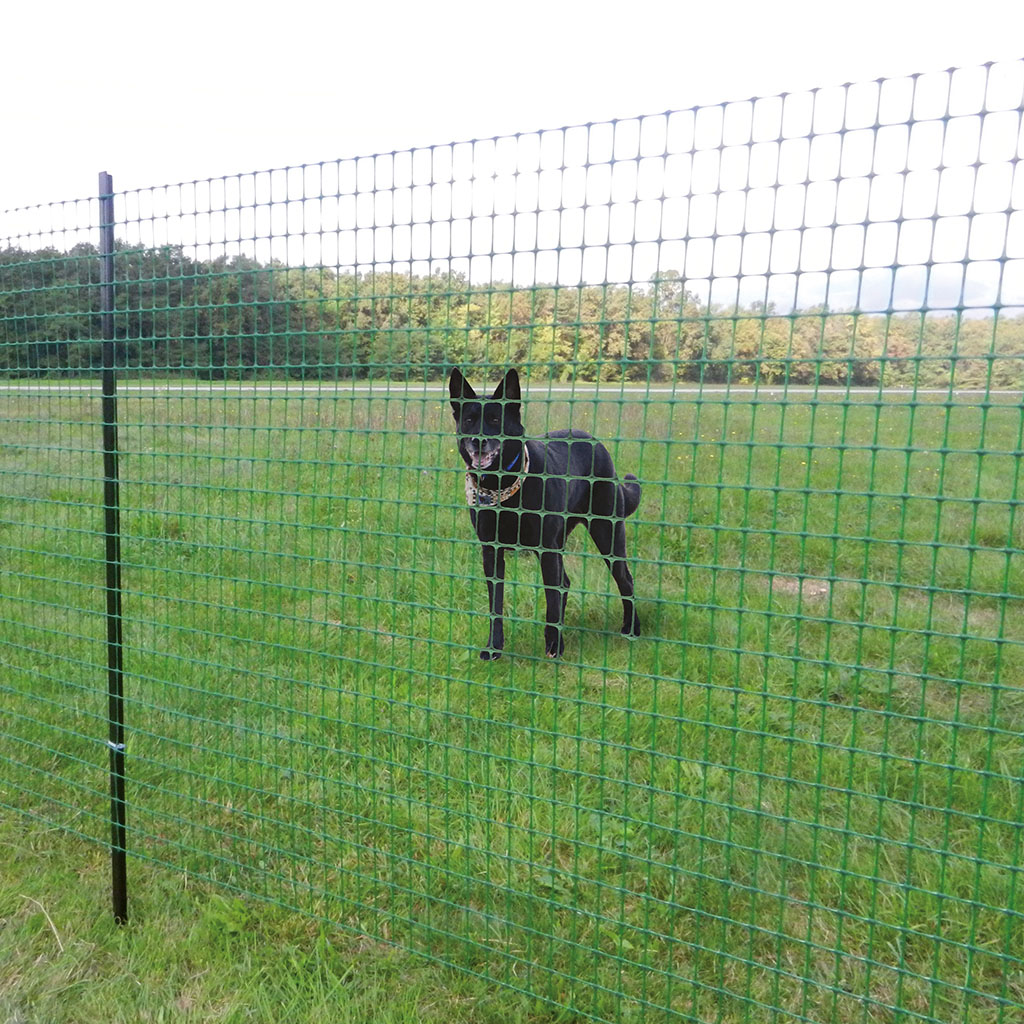
  • designate areas for pets;
  • to protect flower beds and areas of the garden where you want to restrict access.

On balconies and terraces, the net must be secured to an existing railing and cannot replace a structural barrier or fall protection system.

Feature Value
Material Polypropylene
Structure Bioriented mesh
Mesh 30 × 45 mm
Weight 140 g/m²
Color Green
Treatment UV Stabilization
Production Made in Italy
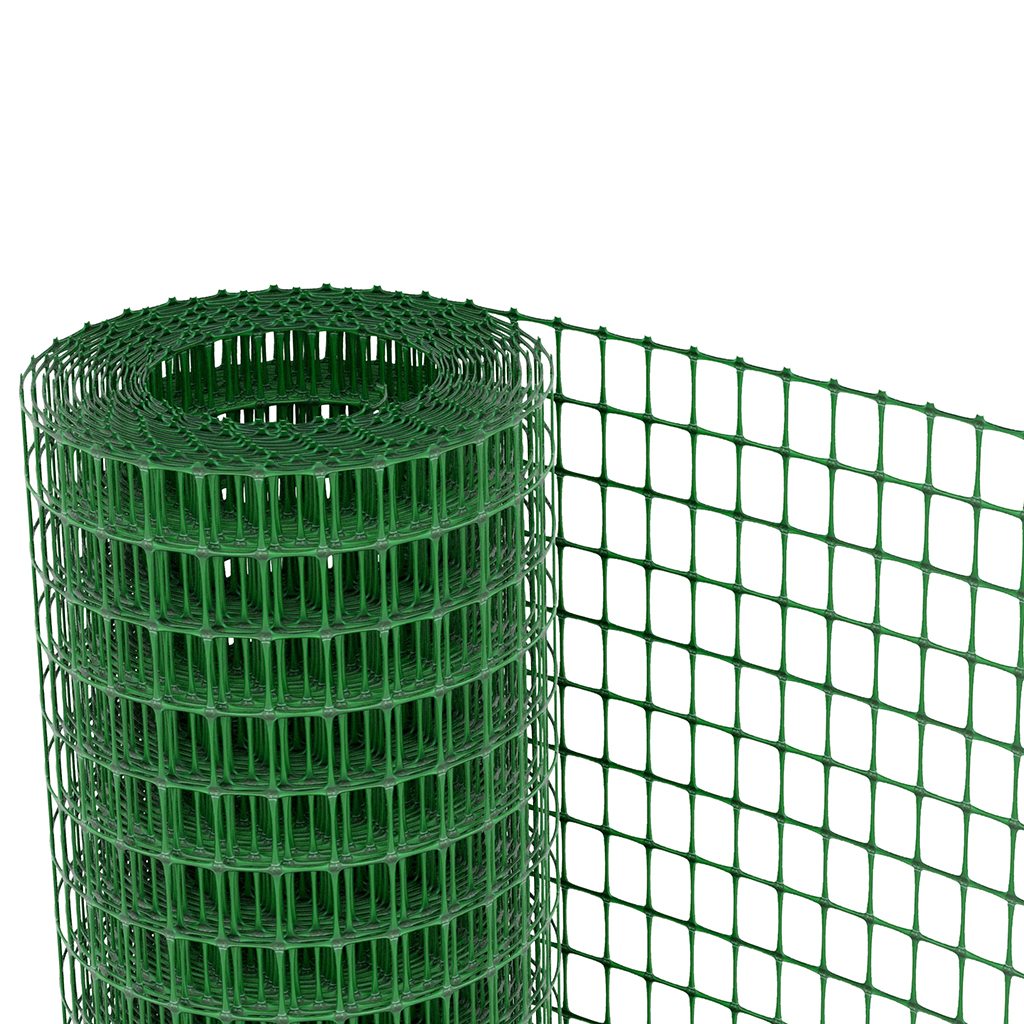
Formats Professional Rolls
Roll Height 1 to 2 m
Roll Length 50 m

  • High strength: The biorientation process improves the net's resistance to tension, tearing, and puncture.
  • Easy to handle: The rolls are lighter and easier to transport than traditional wire mesh.
  • Suitable for permanent fencing: its sturdy construction and weight of 140 g/m² make it ideal for creating stable boundaries for gardens and residential areas.
  • Blends into the greenery: The green color reduces the visual impact of the fence and blends discreetly into the outdoor setting.
  • Resistant to outdoor exposure: UV stabilization helps preserve the mesh's properties over time.
  • Low maintenance: It does not require painting or periodic anti-corrosion treatments.
Code Dimensions (m) Color EAN code CONF/UDV UDV
93081506 1.5 X 50 GREEN 8002929034809 1 ROLL
93080806 1 x 50 GREEN 8002929034816 1 ROLL
93082006 2 x 50 GREEN 8002929034830 1 ROLL
93088006 4 x 50 GREEN 8002929034854 1 ROLL
Installation 1

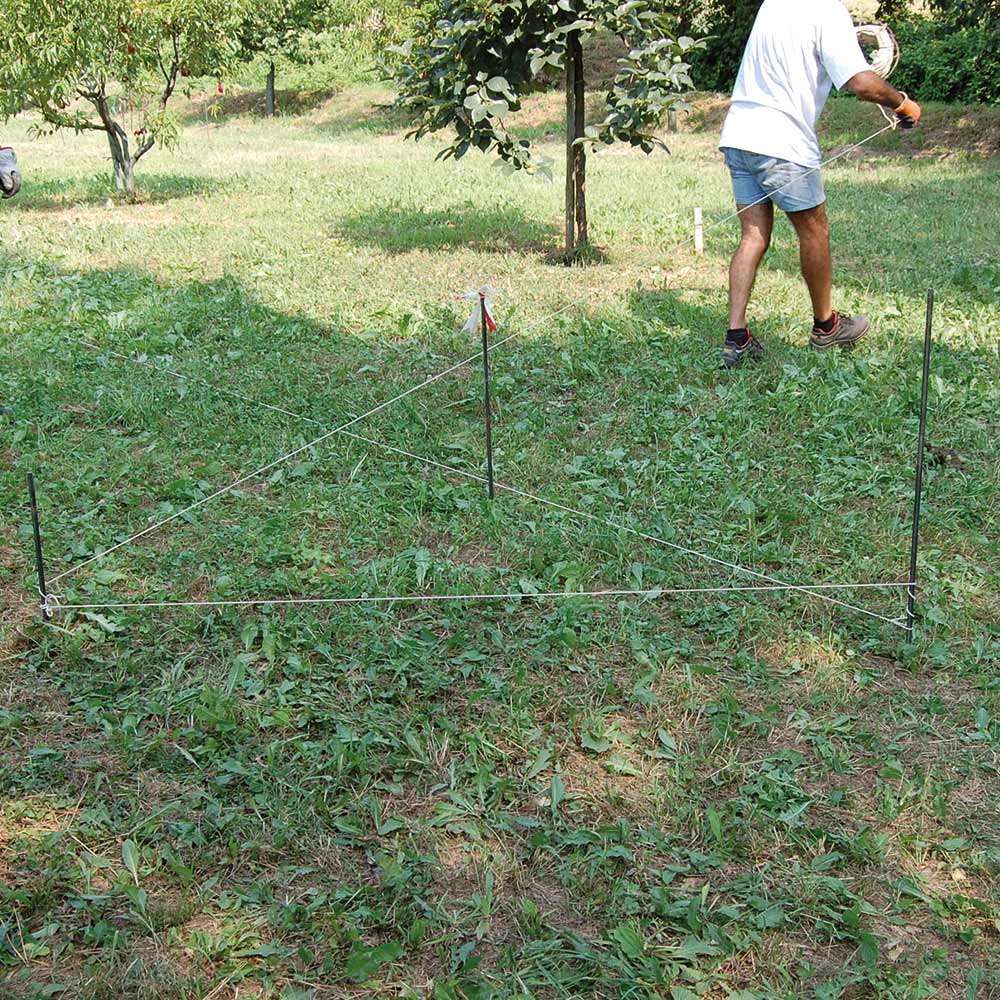
1. Outline the area to be fenced

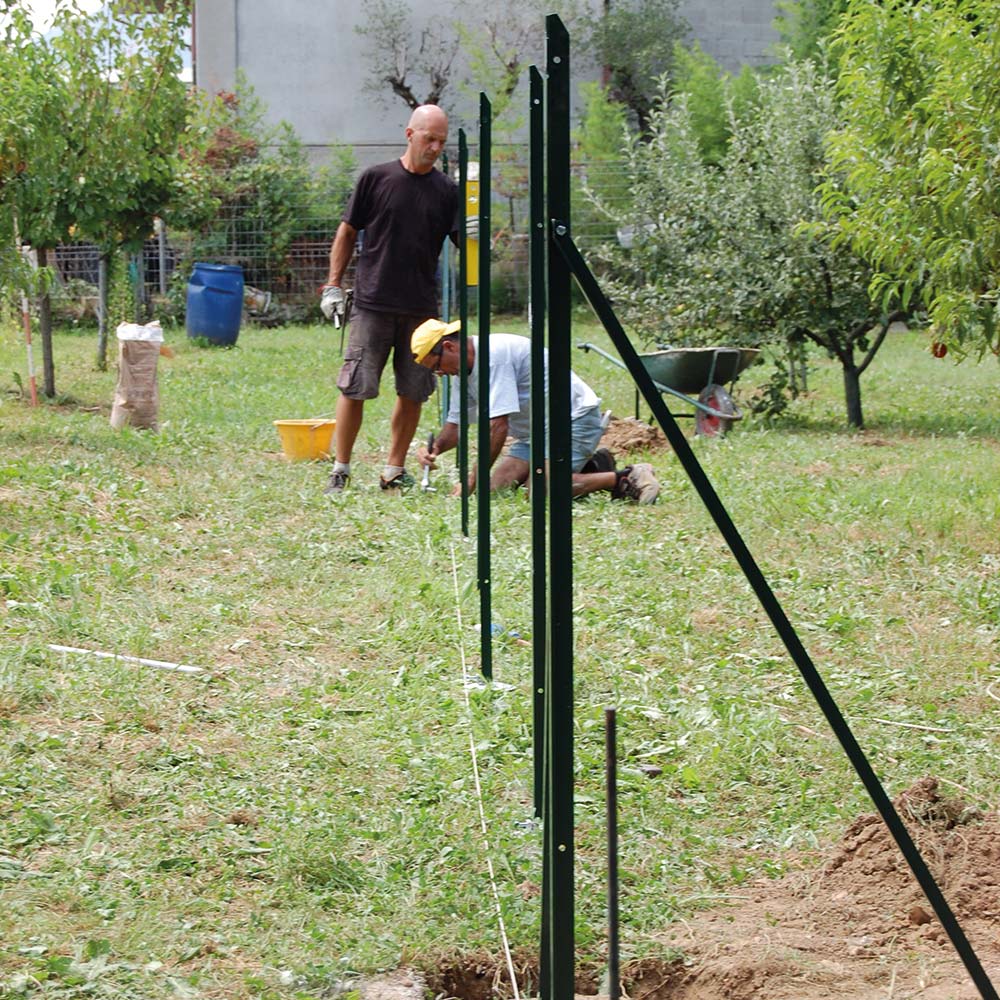
Place the stakes at the corners of the perimeter. Then place the outer stakes on the imaginary line of the perimeter about 40 cm from the corner point; stretch a guide wire (lignola). The outer stakes serve to keep the position of the corner stake visible even after it has been removed.

Installation 2

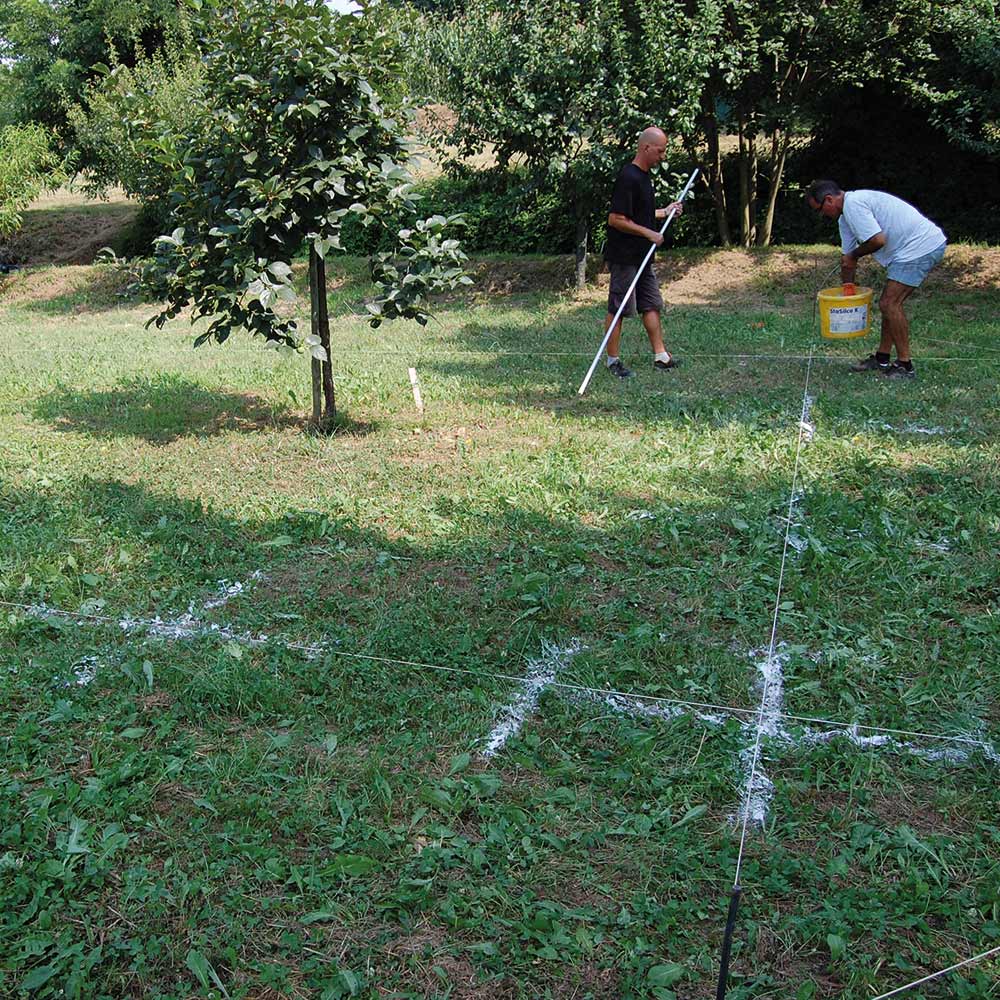
2. Mark the position of the posts

Remove the corner stakes and mark with chalk the points where the EXTRA T POST poles and EXTRA ARROW lightning rods will be positioned.

Installation 3

3. Installation of metal poles

Place the posts along the perimeter about 2 meters apart. The posts can be placed in concrete or directly in the ground.

3a. Setting the posts in concrete

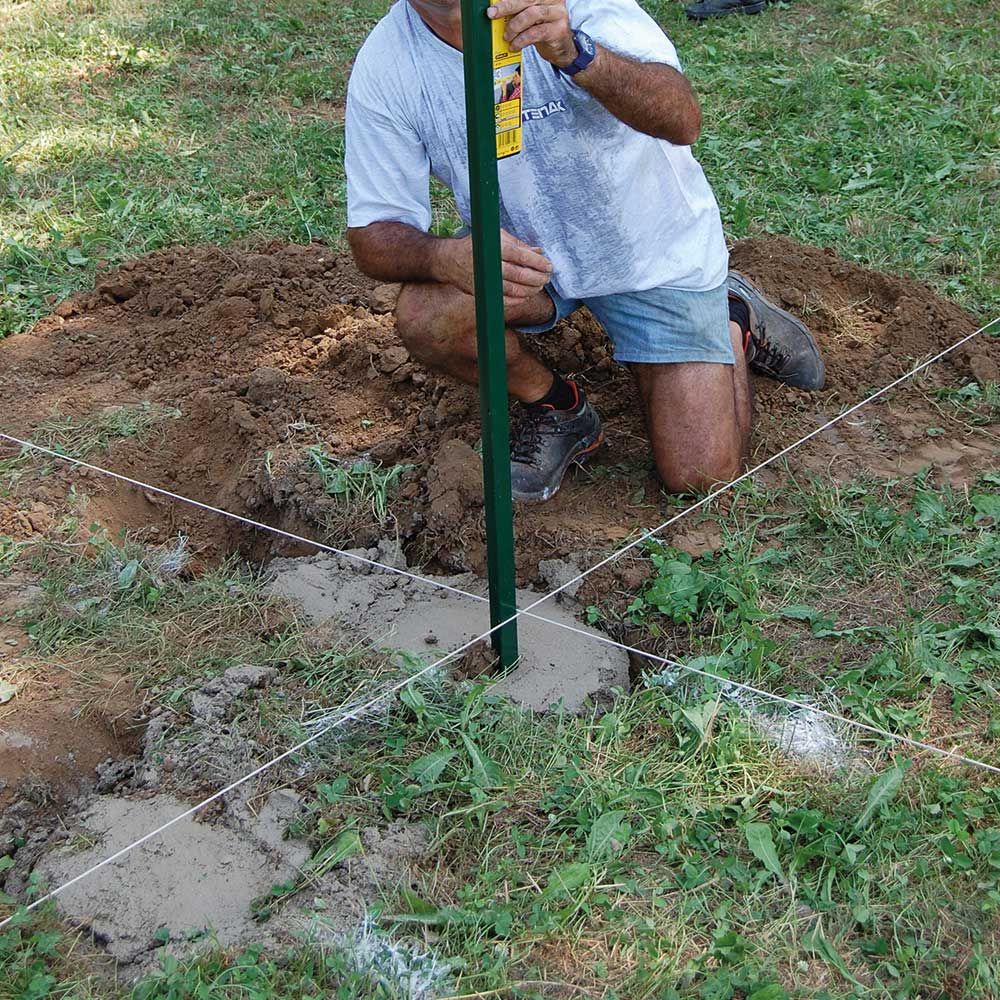
Dig holes in the ground, using a shovel or machinery such as augers or mini excavators, to a depth of approximately 20-30 cm and a width of 20-30 cm; pour cement into the hole and position the posts until they touch the bottom, checking that they are perfectly perpendicular to the ground and aligned with the previously stretched string. Wait for the cement to dry completely before installing the fence, so as not to misalign the posts when installing the mesh.

Installation 5

3b. Driving the posts into the ground

Drill holes in the ground to a depth of approximately 50 cm, insert the posts, cover with excavated soil, and compact.

Installation 6

4. Laying plastic-coated metal wires

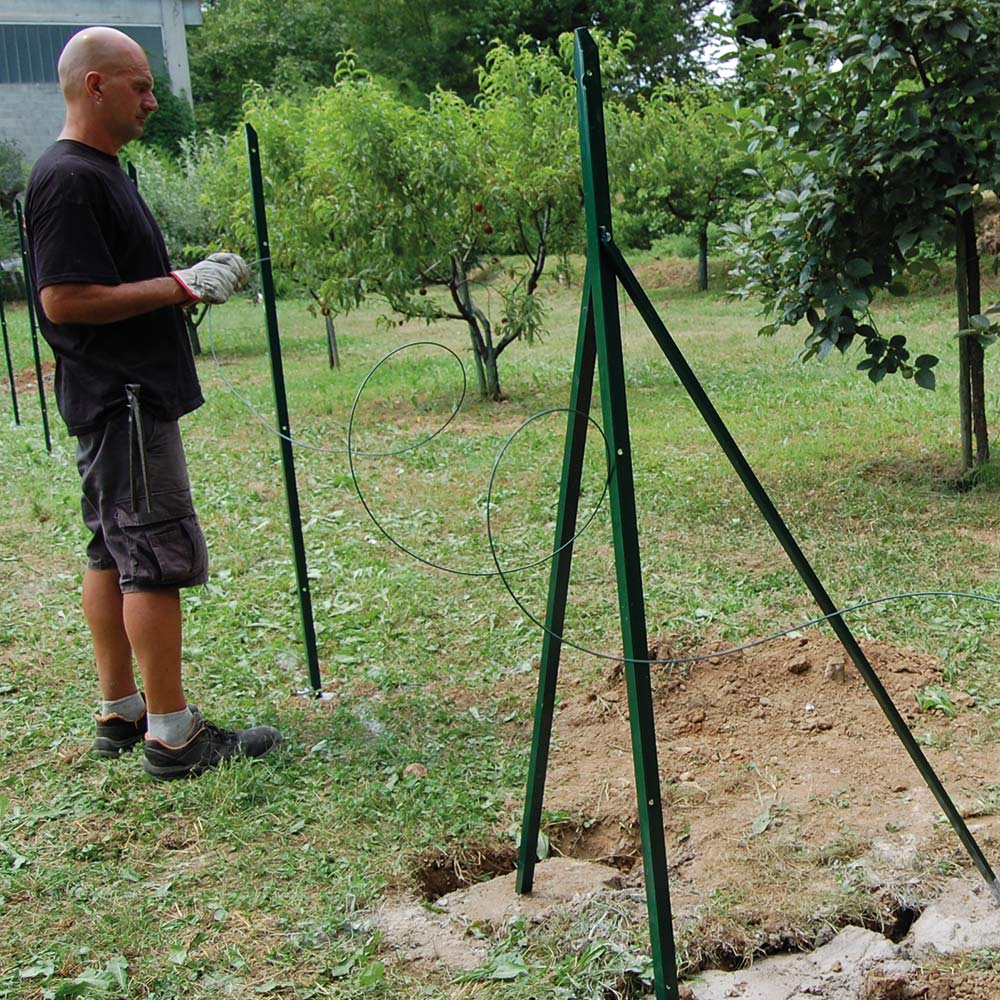
Strengthen the fence by pulling the Tenax EXTRA WIRE plastic-coated metal wire through the holes in each post and securing them to the corresponding Tenax TENDIFILO wire tensioners. Leave the central wire free to move so that it can be aligned with the mesh of the net during fastening. Position the wire tensioners between the two posts and at each wire position. Pass each wire through the appropriate gear on the wire tensioner. Using pliers or a wrench, tighten the plastic-coated wires.

Installation 7

5. Laying the mesh

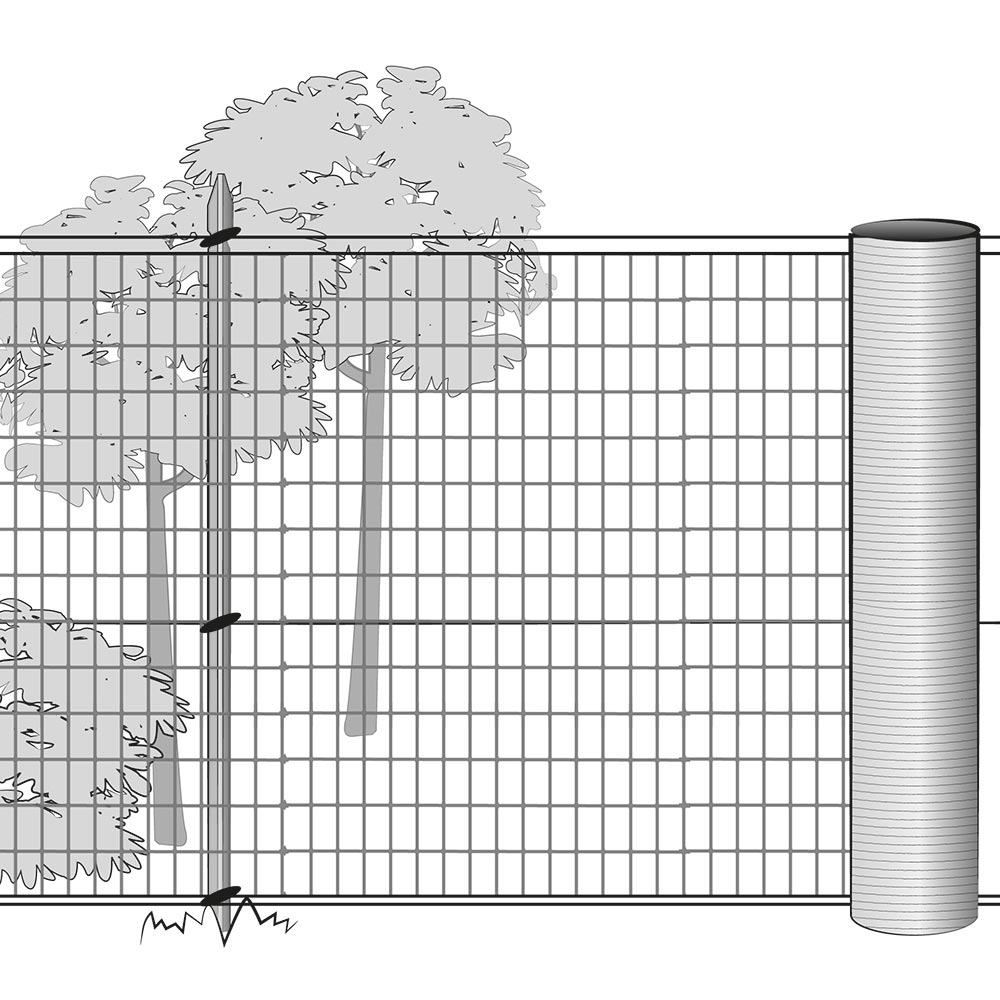
Unroll the net along the positioned poles; initially unroll the entire net and temporarily secure it to the poles.

Installation 8

6. Securing the net

Secure the mesh to the wires and posts using Tenax EXTRA WIRE plastic-coated metal wire or special FIX-TIE plastic ties. Pull and finish installing the net, checking the alignment of the posts and the tension of the wires.

Plastic net – Installation for hobbyists

Plastic net – Technical installation

Plastic net – Area tracking

Plastic net – Saette

Plastic net – Laying tension wires

Plastic net – Tying and fastening