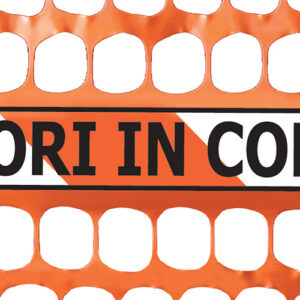
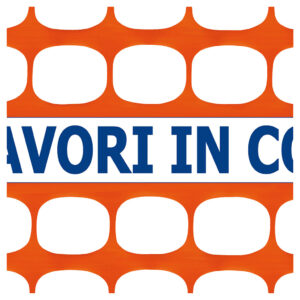
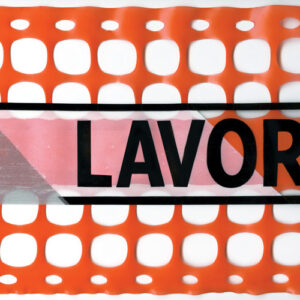
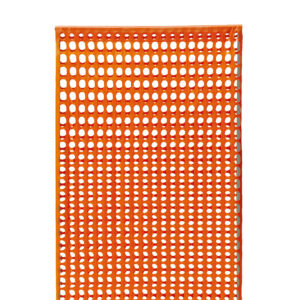
Thanks to the high quality of its polymers and production know-how, the "orange net" has become a symbol of construction sites and TENAX a benchmark for the entire sector.
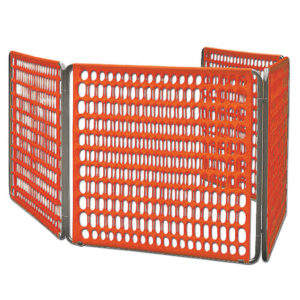
TENAX also offers certified modular systems for fencing small and large areas.